No TV Or Screens For My Tots!?! Also, Checking out 30+ Library books for My 2 year old each week!!

No TV Or Screens For My Tots!?! Also, Checking out 30+ Library books for My 2 year old each week!!

I know what you’re thinking, “That’s a terrible title”. No it isn’t. You clicked on it. And net traffic as well as ‘time spent on a site’ is the best indicator for Google’s ranking of your content.

We have 1 television (1 TELEVISION) in our home and it’s in our bedroom. I firmly believe that young children should be exposed to very few (if any) weekly screen-hours as possible.

But why? Aren’t there plenty of educational programs that act as free babysitters? Yes. Most are these days. Why rant against T.V’s or screens?

It’s really not so much what your children watch on a screen, but how long they watch it and how emotionally affected and attached they become to it. Since I never developed the habit of “T.V. watching” during childhood, I’m a bit biased. You’re free to scroll past this post if it bothers you. I know there will be plenty who disagree.

I tend to see T.V.’s net benefits as: 1. Fun entertainment that dampens original ideas and 2. time waster (which, I guess, isn’t a net benefit, is it?).

Compared to most of my peers, I spent very few hours seated in front of a screen or even watching movies. But this wasn’t because my parents thought that TV resulted in a “lack of original thinking” or that it “suppressed imagination” (i.e. the reason many educated parents limit T.V. viewing). My mother would comment that television was “too sarcastic” and that it didn’t “provide good morals”. Hence, my brothers and I were not allowed to watch The Smurfs.

We were allowed to watch endless episodes of Leave it to Beaver and my parent’s bought plenty of wholesome Christian inspired movies for us to watch. These were not very enticing. Needless to say, with these alternatives, I simply stopped watching screens. Sure, I watched a few movies here and there throughout my childhood and teen years, but certainly not enough to be able to recognize even the most well-known stars.

So, what’s really the problem with T.V./screens then?

In the end, what TV does is it makes everything else in life seem boring. That’s it. Life is already quite boring for most adults. For young children, the television seems to quickly desensitize them to their once bright and novel surroundings–those things ready to be used for unstructured play–and makes them seem comparably boring.

Furthermore, television, movies and social media homogenize. They make a bunch of people who all talk and think, more or less the same. It encourages a sort of mindlessness. Ever notice how people are seemingly always quoting from movies instead of coming up with their own phrases?

We know that most adults have already been desensitized and/or spoiled to some degree. Children, unless exposed to lots of screen-time, still maintain an air of unspoiled excitement for the mundane. I think its preferable for children to hold onto this tendency as long as they can. It will eventually teach them how to create their own solutions for boredom–how to transcend boredom using their very own intellect and imagination. They might discover hobbies, educational pursuits or even entrepreneurial ventures in the mist of being bored. And this is because they are forced to find a remedy for boredom on their own.

Being able to defer gratification and envision the bigger “future reward” is a skill that can be developed at a young age. I think it’s very important to help your children hone this skill.

A couple months ago we were letting our tot watch 2-3 episodes of a children’s program from Amazon each week. It’s called “Tumble Leaf”. I noticed that on the days that she viewed, she became increasingly angry–even hostile–once the show was switched off. She would throw tantrums–as if she was having withdrawal from her favorite drug. She would screech and thrash on the floor for long periods after the television was off. This made me realize that she was really developing an unhealthy attachment to this program.

The past few weeks she has not been viewing any screens. Before Tumble Leaf, the only shows/movies she watched were: Bambi, Dumbo, Snow White and a few nursery rhyme songs on YouTube (only a couple times each month–at most, and it was when we were in a restaurant or some other public venue where she wouldn’t sit still.)
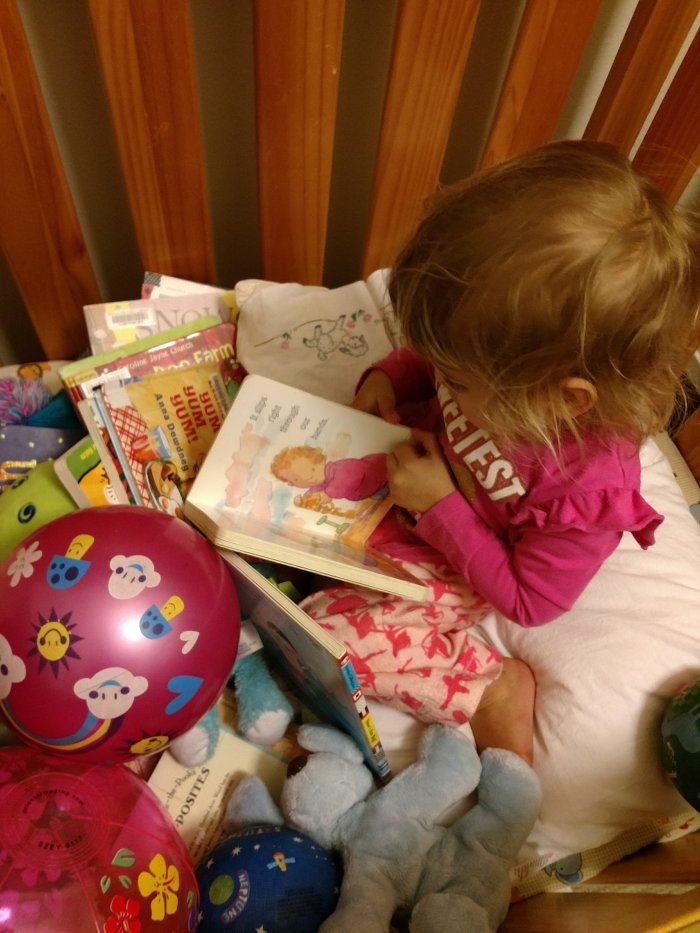
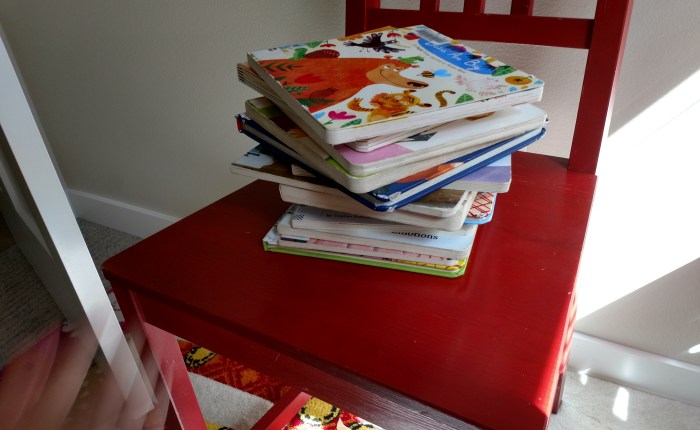
In other news, I’ve started to incorporate weekly LIBRARY TRIPS into our schedule. I’ve been very consistent the past couple of months. Every week we go to one of the libraries here in our city and I pick out 15-30 books for her each time. This way, at night, after I read to her and tuck her in and she begins her 2 hour screamfest, she ends up being distracted by her new library books. She will sit and look through them until she falls asleep. This is a great way of preparing her to be a future reader while also calming her down before bed.

Turning the pages of a book is much slower-paced than television, computers, tablets or phone screens. There is a much-needed confining or “restricting” quality to books. She learns to delay instant gratification–because she has to go through the physical effort to turn the page in order to find out what comes next.

Compared to a screen, she will likely spend more time on each page, looking at all the interesting pictures, colors and letters without being constantly offered the opportunity to “click elsewhere”–as you see on YouTube videos. She will develop a strengthened attention span as she appreciates all that she is seeing on each page. She might also want to go back to a previous page, and look for what she may have missed. By starting with books, I believe this will instill a deeper and fuller approach to learning…ANY SUBJECT. It kind of paves the way for “how to learn”.

It is this slow, methodical approach to learning that can teach your child how to learn all things.

In the end, it will be books–more than any other object in your home– that will prepare your child’s mind for school learning. They will need the necessary skills to sit still at a desk for a period of time to listen to the “boring teacher” and to read/go-over the “boring paper materials” and books presented to them without constantly jumping from one thing to the next.

I’m willing to bet that over time, a phone, tablet or other screen-type device will inadvertently teach your children how not to focus. I’m convinced that these devices will teach your children to become dependent on them for ALL (or, most all) of their fun.
$5.50 Toddler Outfit I just made!!!

$5.50 Toddler Outfit I just made!!!

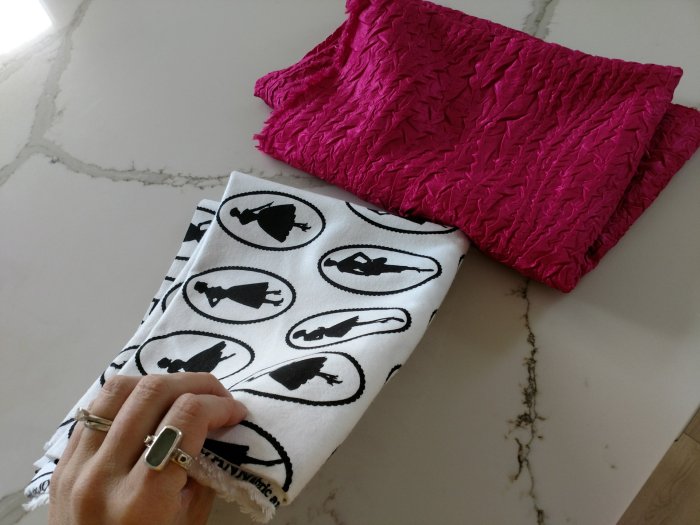
Yes! I found really cheap fabric in the Joann Fabric discount area. The pink fluffy stuff was $2.50 a yard– and the black and white stuff was roughly the same price– maybe $3.00 per yard.

I agree. Time is money too. But if you’re learning a new skill on top of getting a new outfit, I think it’s well spent.

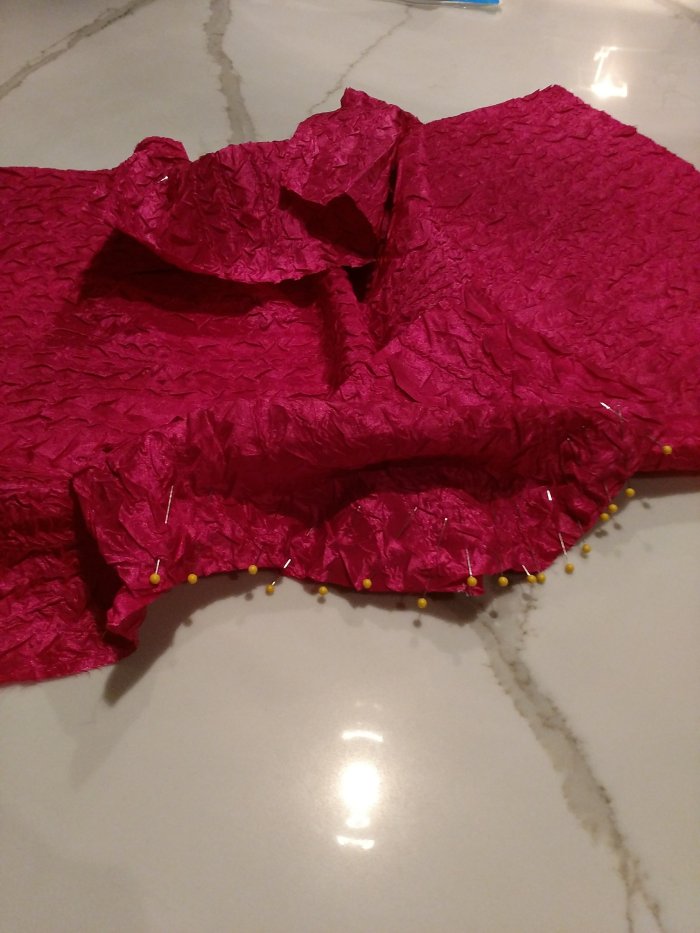
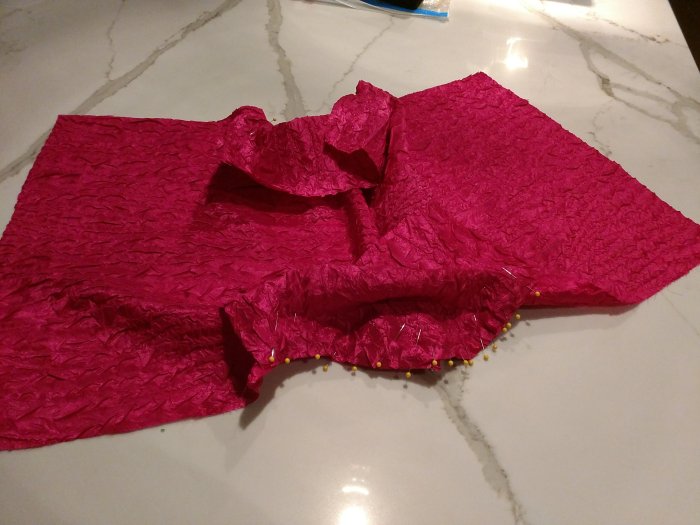
So I spent $5.50 for this fabric here:

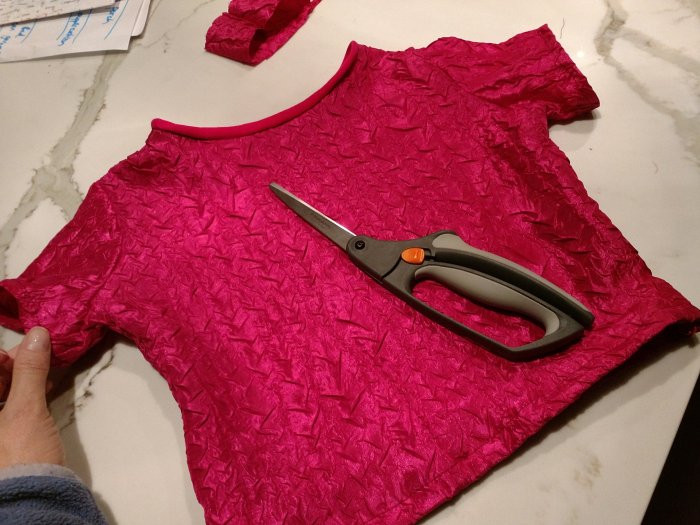
Then I went to make the shirt. Yes, I’m still practicing on my “shirt making”. I have a long way to go. Sleeves are such a pain but I’m slowly getting the hang of it.

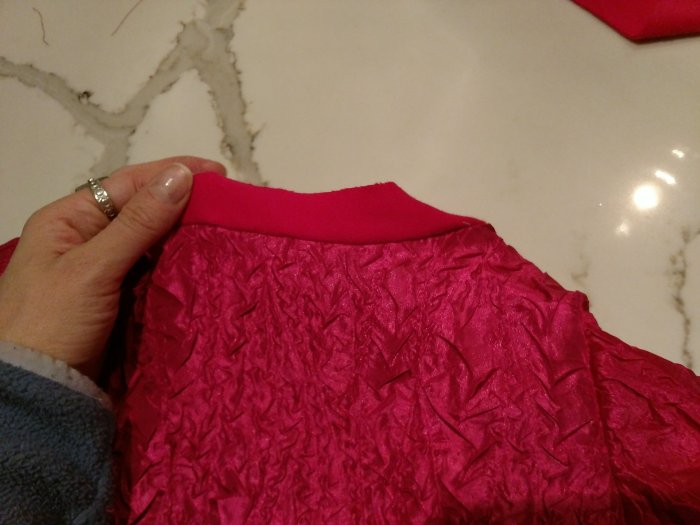
I found some pink Terry cloth scraps from an old project to use for the shirt collar.

And…done. pink toddler shirt for $2.50. Plus, I have fabric leftovers for something else.

Now, for the pants 😋 using an old toddler pants pattern.
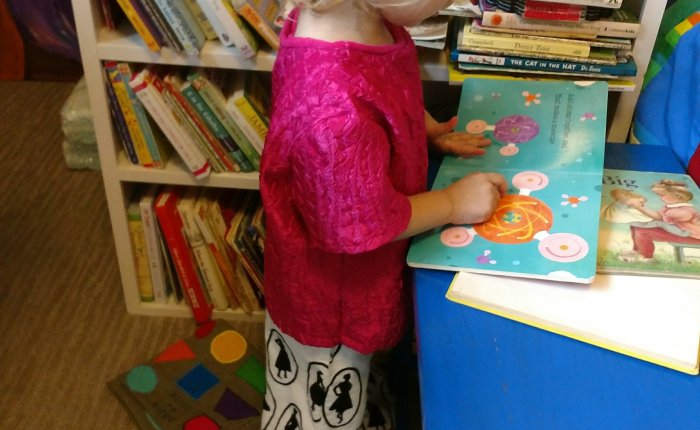
And here they are! Adorable pants with 2 inch width elastic waistband. They’re slightly long so she can wear them for a long time.
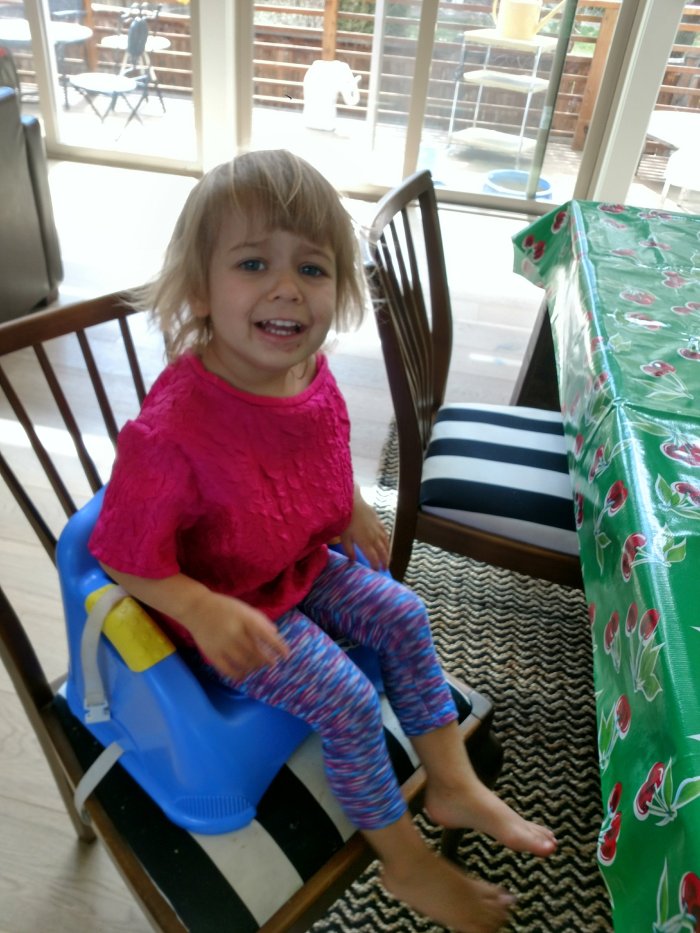
Here she is with her new shirt. Based on her facial expression, I think she loves it.

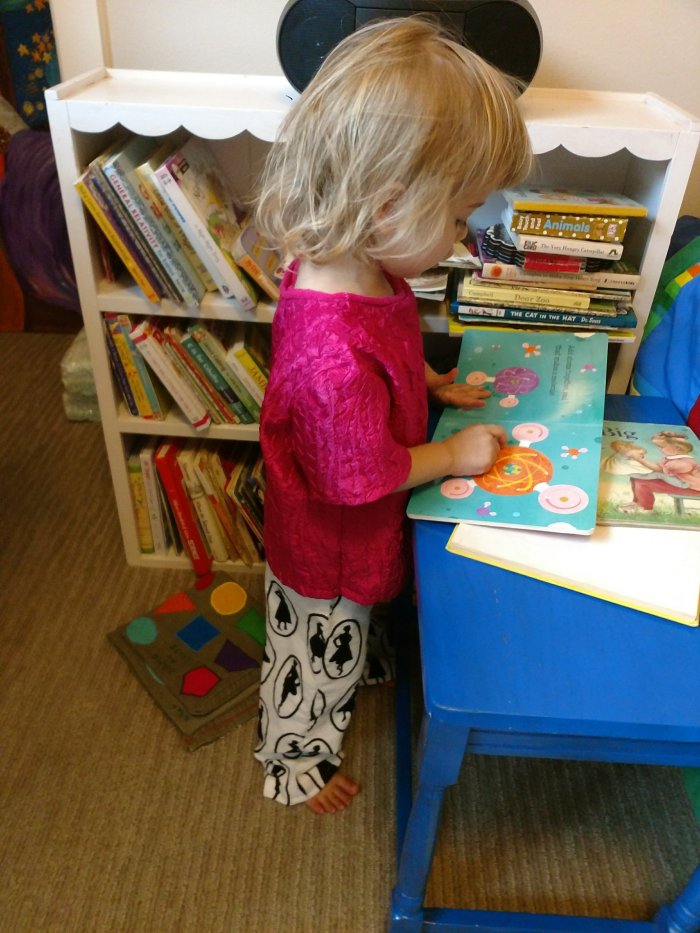
And here…with the entire outfit on. Looking at books in her bedroom.

Homemade sew job complete. Now on to other ideas.

No Cereal in Cupboard? Granola from Scratch.. Plus- Our Tomato seeds have finally sprouted!

No Cereal in Cupboard? Granola from Scratch.. Plus- Our Tomato seeds have finally sprouted!

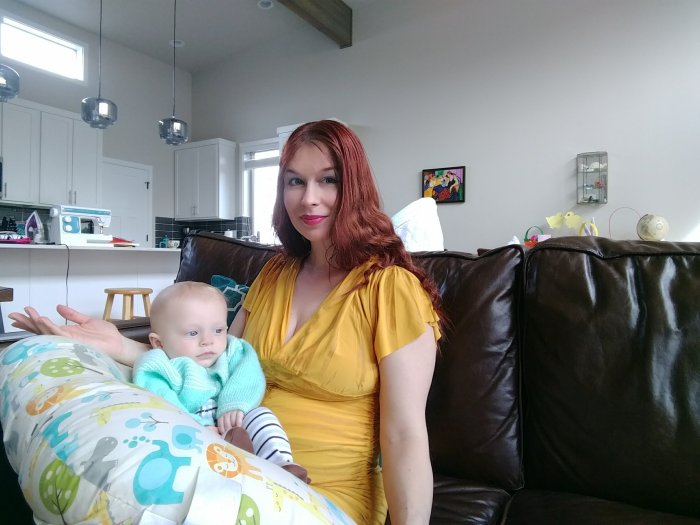
Now that I figured out how to make blog posts on my phone I can make content while I nurse my baby. But he’s super interactive with hands flailing the whole time. We will see if I can complete this post.

I’d like to blog 2-3 times each week if I could find the time– but for now, I’m staying committed to my 1x per week at least– no matter how bad or weird it is. Blogging is as much about getting into the groove as it is about the content.

To preface this post I’d like to be clear that I never really follow recipes, so I apologise for not being very decisive with the instructions. I just can’t get myself to do it– I feel like I’m locked in a straight jacket. Plus, l always learn something memorable when I make a mistake.

Today I woke up to find our 1 cereal box was almost empty. While disappointing, it wasn’t tragic.

I realized that I had a variety of on-hand items that might be concocted into granola.

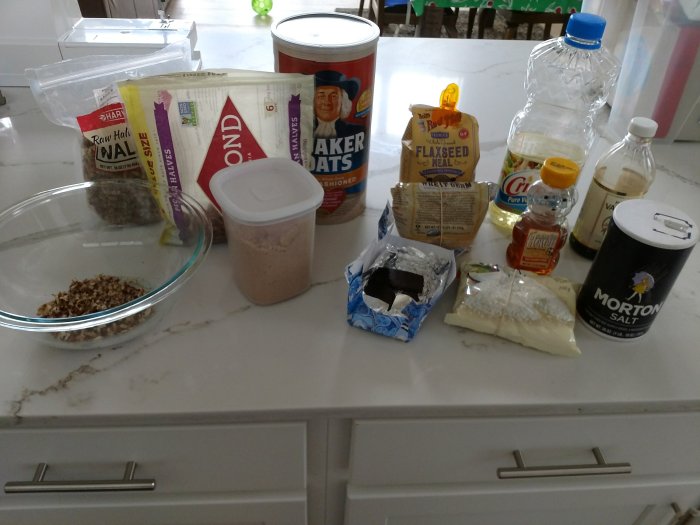
Things like: oatmeal, shaved coconut, pecans, walnuts, dark chocolate, flax seed meal and wheat germ. Honestly, these were all I had. My raisins had been depleted a couple weeks ago and I didn’t have any dried cranberries or pumpkin seeds that so many recipes suggest. Oh well. I had enough items to make it work. A practical point in being creative, for me, is figuring out strategies to use what l already have– for as little money (and as few trips to the store) as possible.

The main thing you need to make granola is oatmeal. I found some random items here:

Recipe:

3 cups oatmeal

chopped walnuts (3/4 cup more or less)

chopped pecans (3/4 cup more or less)

Coconut flakes (I used 1/2 to 3/4 cup)

1/2 cup flax seed meal

1/2 cup wheat germ

Brown sugar (to your preference)

Broken up dark chocolate bar (or chips or whatever you have)

Dollop of honey

Splash of vanilla

1/2 tsp salt

1/4- 1/2 cup vegetable oil

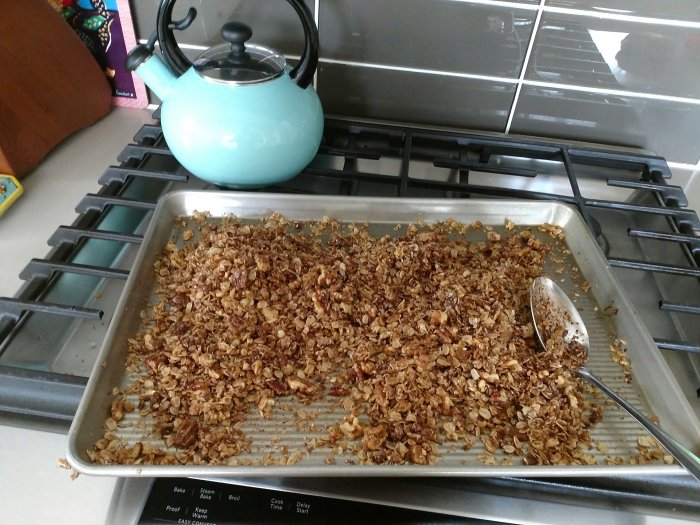
300 degree oven and bake for 10 minutes? Or whatever. Just don’t burn it.

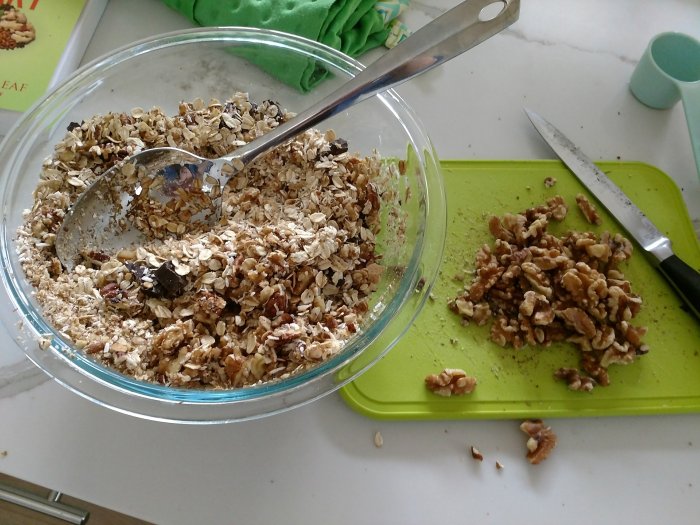
Mix everything up:

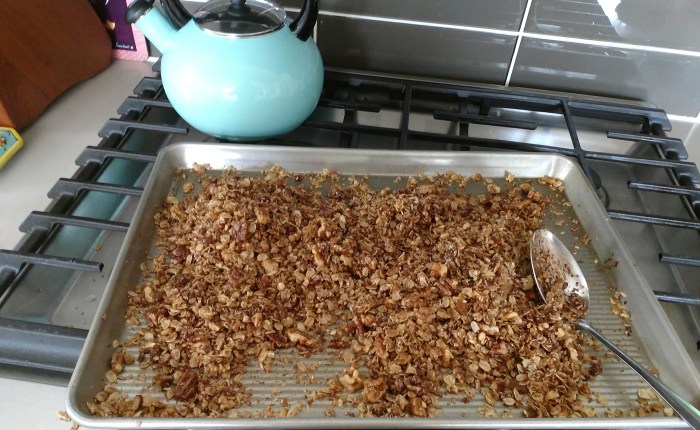
Spread on cookie sheet:

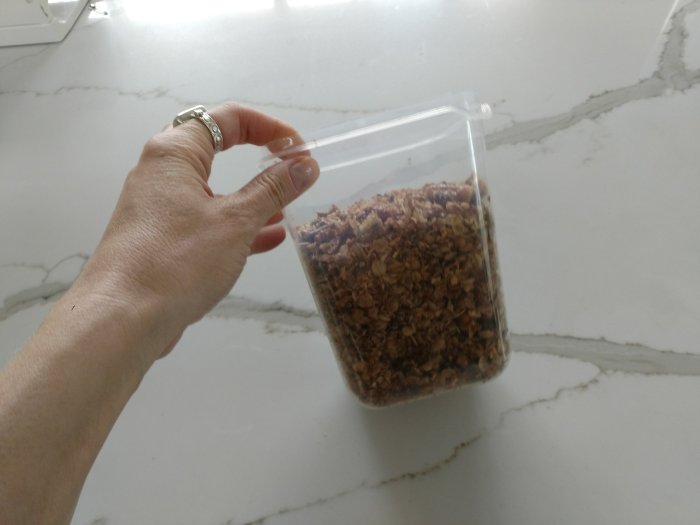
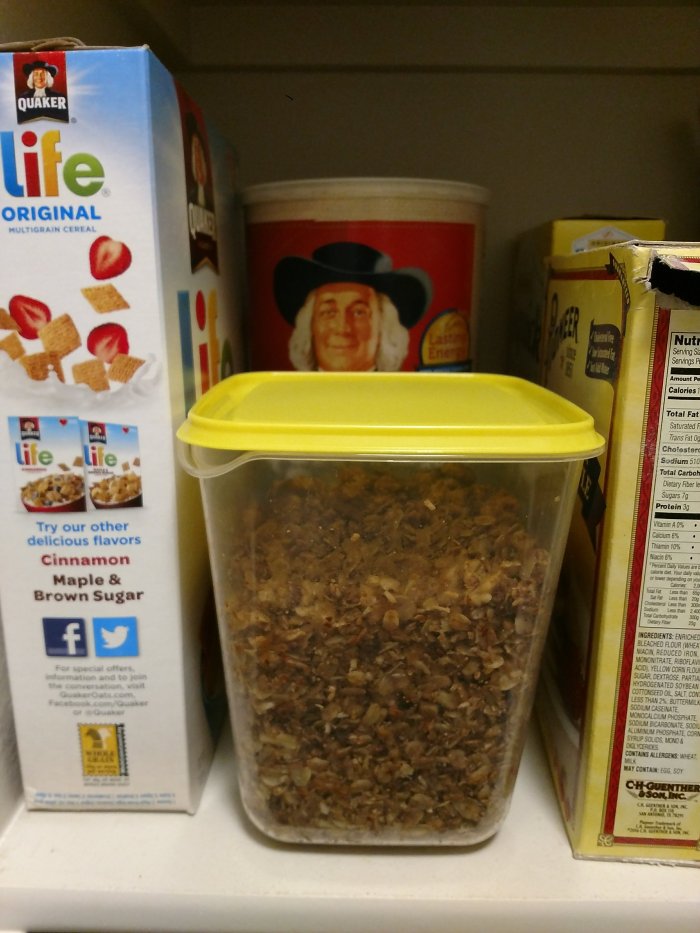
And store your freshly baked granola in an airtight container.

It tasted delicious! Now to store by in the pantry. 😀

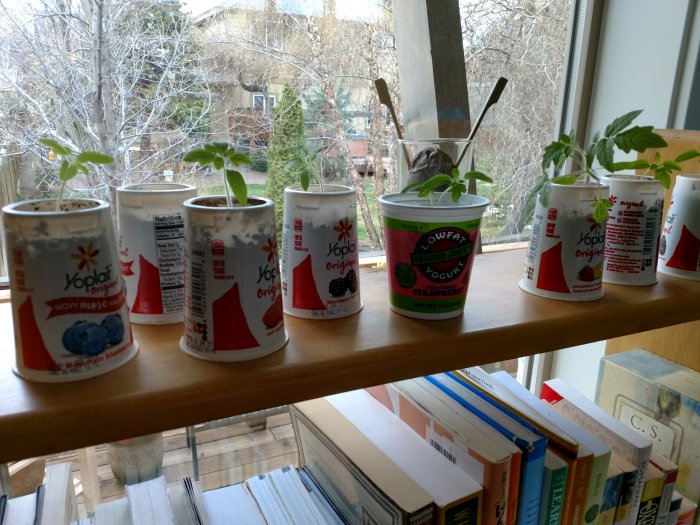
In other good news? Guess what? Our tomato plants that we planted from seeds are finally growing! You probably remember this blog post: Greenhouse where we planted them.

Well here they are. Tiny tomato plants finally popping out of yogurt containers. They’re growing!

Why is (Regular) Blogging so Difficult?!?

Why is blogging regularly so difficult? It’s probably because many of us who are attracted to this hobby happen to be perfectionists in the first place.

We also tend to be a bit ostentatious at times– as we like to show off our stuff, thoughts, writing etc.. (What person would venture into such arena if they didn’t have a smigeon of this trait?). Your writings, expressions and pictures are going up public– for anyone to see– and you know that. Face it. You’re a bit of a show- off.

There’s nothing wrong with any of this. You need to be a bit showy to make this work. Embrace the “braggy” side of your blogging personality. This will help you in the long-run because without content, you just have a user name and password– and an empty blog.

It’s the “perfectionist” side of your personality that will be holding you back. You’ll want to express yourself but come to realize that’s it’s a bit weird, the ending is rough, your point wasn’t made, and the esthetics of your post are off-putting. That’s okay. You can’t please everyone. And apparently, not even yourself. So let go of the perfection-tendency and start writing and posting frequently.

We’ve all heard that it’s “quality content” that sets you apart and makes you stand out in Google’s search ranking. This is true. The point is to have something that is interesting enough so that people come back or view other posts on your blog. You’ve snagged someone then and Google seems to know. This is what “quality content” means.

Keep writing and pressing forward but most importantly, keep thinking. After all, it’s from these random thoughts that sprout throughout our days that provide the fodder for our blog posts.

MY ROBIN’S EASTER EGG CAKE! Welcome Spring! PAGAN PARTY FOR KIDS!?!? Plus– Spring Crafts

MY ROBIN’S EASTER EGG CAKE!  Welcome Spring! PAGAN PARTY FOR KIDS!?!? Plus– Spring Crafts

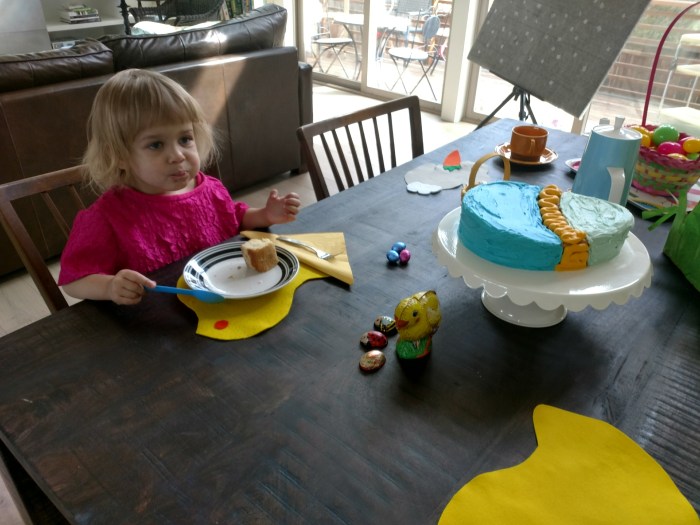
Fertility festivals are now being celebrated throughout the northern hemisphere so why not throw your own spring party?! I decided we should welcome spring. You know how that goes. This time I decided not to go “full pagan” but instead, decided to whip up a cake from scratch in the shape of an egg and throw a little tea party for the kids. Still too pagan for your religious preferences? Well next year we’ll be making cake crosses to celebrate Easter.
This cake was my first (decent) 100% scratch cake. We even made a couple crafts to celebrate the season.

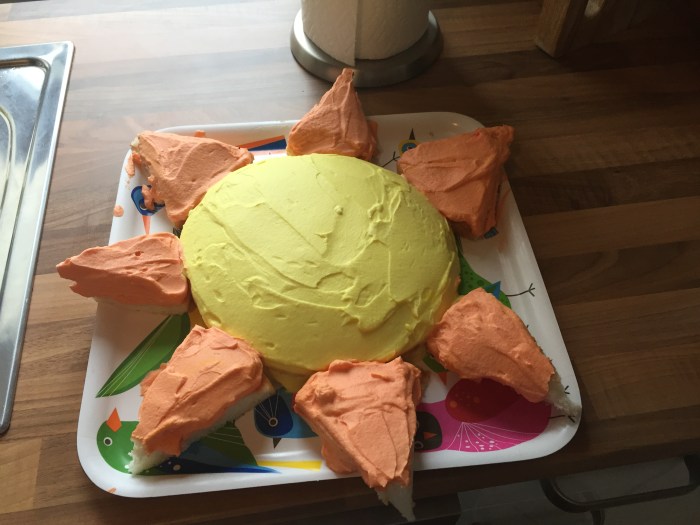
Yes. I did try and make a cake from scratch before. Once. For my husband’s birthday. I told him I was going to make him a Sunshine cake. He thought it was a cute idea but was in for a terrible surprise. And it was a disgrace to mankind.

MY CAKE DISASTERPIECE of 2016. PICTURED HERE FOR YOUR VIEWING PLEASURE:

IMG_7170

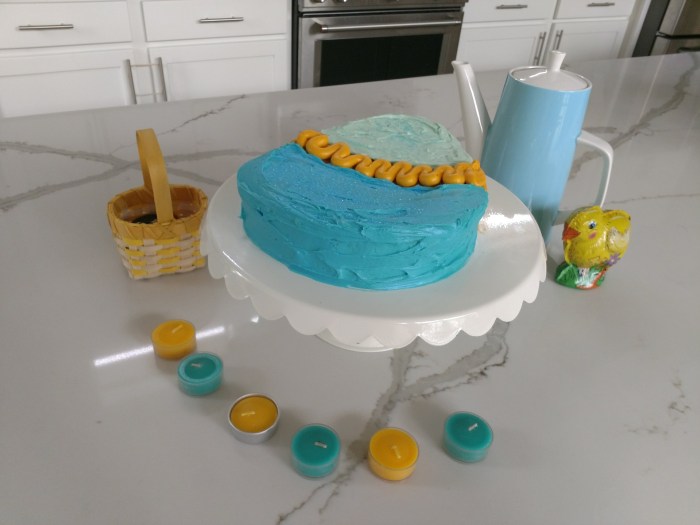
So, as you can tell, my cake baking skills have improved a bit. I’m just slightly proud of this little beauty– mostly because I thought up the idea, the colors and the name of this cake when I was playing around with the frosting color.

IMG_20180328_160332671.jpg
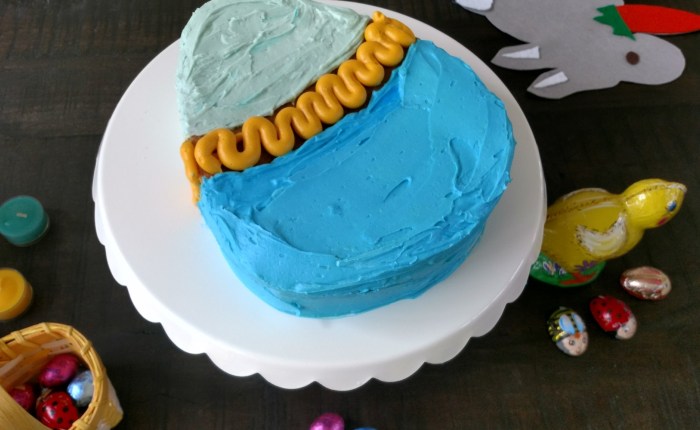
My “Robin’s (Easter) Egg Cake” 🙂

NOW HOW DID I DO THAT? Here are some pics (and I’ll post the link to the cake recipe below). What a fun way to usher in the springtime than a splash of Robin’s Egg blue on your Easter eggs–or, in this case, cake?

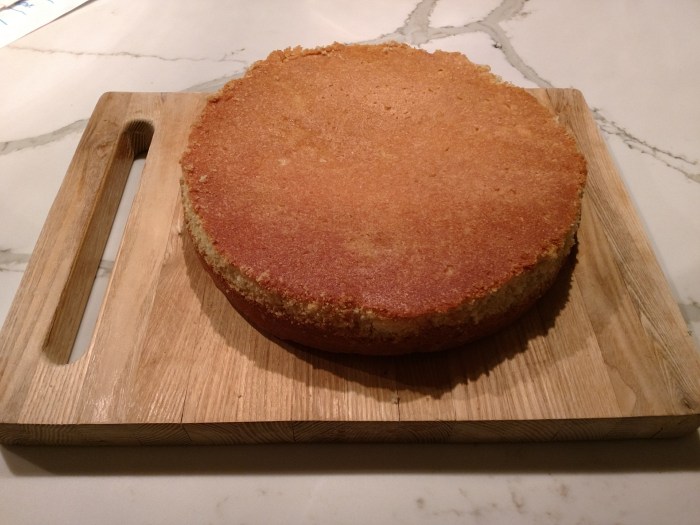
Once I baked the cake, I removed it from the pan and flipped it over (sometimes the top of the cake is caved in a bit or dimply). ALWAYS FLIP YOUR CAKE OVER IF YOU’RE AN INEXPERIENCED BAKER LIKE MYSELF. The bottom is just so perfectly flat and ideal for frosting. My cake looked like this: caramelly sweet, dense, moist and just delicious!

IMG_20180327_220023890.jpg

After the cake cooled, I wrapped it in plastic wrap and let it sit over night. NOW THAT IS THE TRICK TO FROSTING A CAKE! If you do this, you are much less likely to smear crumbles of the cake into your frosting during the frosting procedure. Do you know what I’m referring to?

Then I cut an egg shape out of “cereal box” cardboard to use as my template for cutting the cake. Yes, I salvage all my cereal box cardboard for a variety of uses 🙂

I cut the “egg shape” of the cake the following morning:

img_20180328_144923904.jpg

I made my frosting and prepared several bowls for experimenting with colors to use.

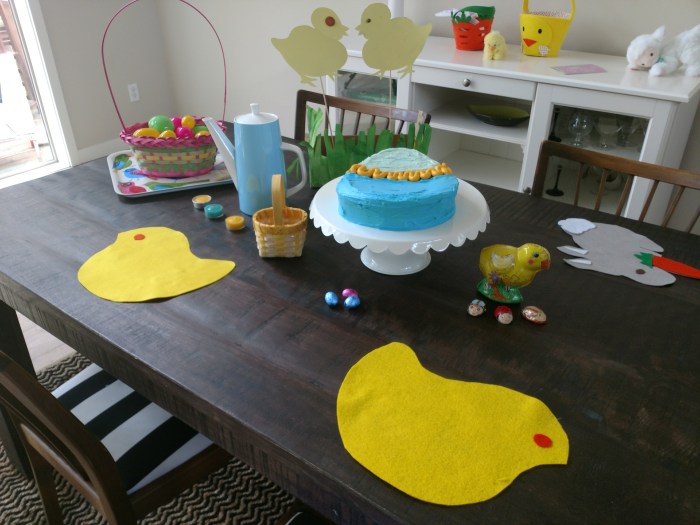
Voila! Our vernal celebration.

IMG_20180328_152825961.jpg

IMG_20180328_153327314_HDR.jpg

I also thought-up these little chick and bunny rabbit placemats from some scraps of felt I had laying around. Just use a template that you have on hand (I used a chick plate–sorry, breakfast remnants still stuck-on) and a hot glue gun to seal on eyes and other features like cotton tails and carrots. SUPER FUN! I will be using these for next years spring décor too.


Here is the cake recipe link (the only thing I did differently was use 4 eggs instead of 5, bake for 35 minutes instead of 25 and I substituted whip cream for buttermilk–only because I didn’t have any on hand). The cake tasted delicious!

White Scratch Cake Recipe

Also, did you notice the chicks standing in the grass in one of the previous pics? That was one of my “dumb creations”. Just make cute chick cut-out’s from your old cereal boxes, paint them yellow, glue to skewers and prop them up in a box

Delicious Chicken Schnitzel Sandwich (Lunch Leftovers idea)

Delicious Chicken Schnitzel Sandwich (Lunch Leftovers idea)

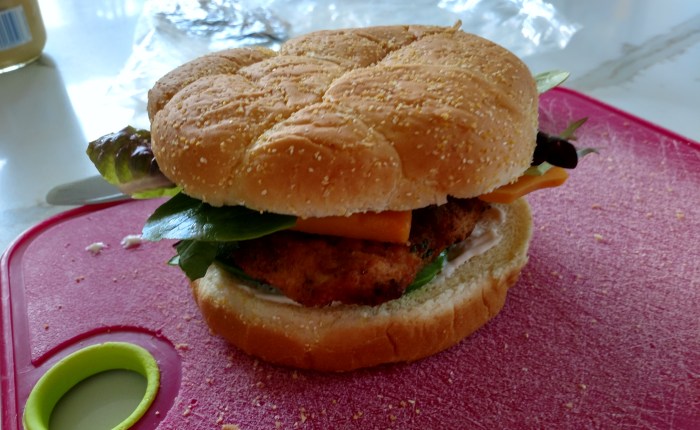
A couple nights ago my husband suggested that we make Chicken Snitzel for dinner. Reminiscing of our 3 years spent in Germany, I thought, of course! Let’s try it.

It was a very simple recipe and you make it just like you would make a pork or Weiner Schnitzel.

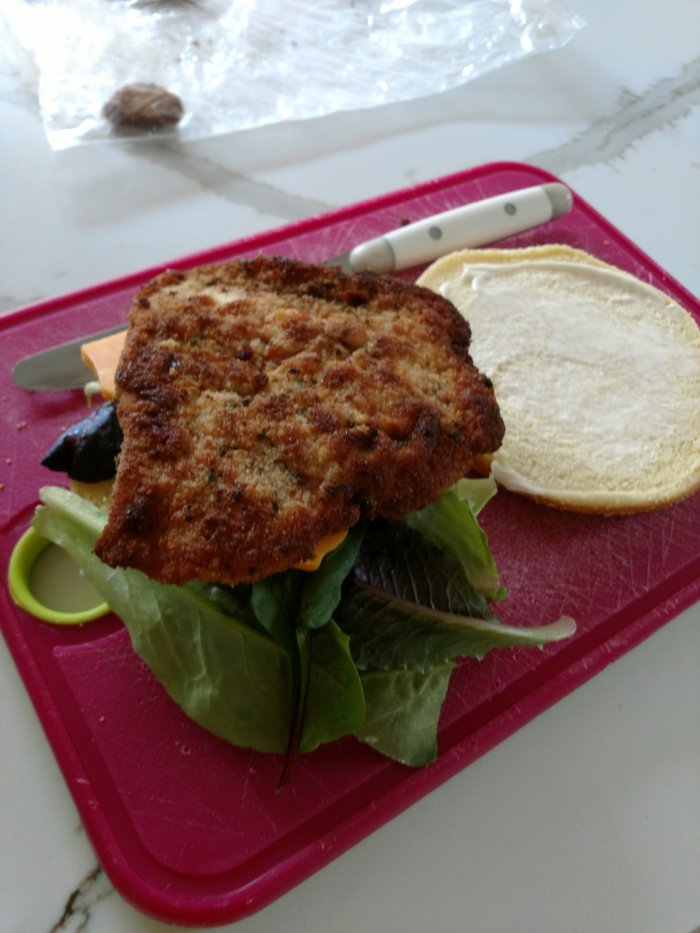
The trick for any Snitzel recipe is to use fresh meat (preferably meat that you just purchased) and then brutalize the life out of it with your kitchen mallet. For chicken, you won’t have to pound the meat as much.

1.Season the chicken cutlets with salt

2. Dip in flour (shake off excess)

3. Dip in egg (shake off excess)

4. Dip in Garlic and Herb Breadcrumbs.

5. Fry in 2-4 inches of vegetable oil.

5. Blot off oil.

6. Put on Kaiser bun with your kind of condiments.

Leftovers for Lunch, Yes Please!!

I Made SOCKS from Worn Out LEGGINGS!

I Made SOCKS from Worn Out LEGGINGS!

https://asliceofmytravels.wordpress.com/2018/03/15/i-made-socks-from-worn-out-leggings/I’ve always been a minimalist when it comes to socks. I’ve never owned more than 7 pairs of socks at any given time– and this includes that comfy pair you pull out during winter months and also that funky pair with bright pictures on it.

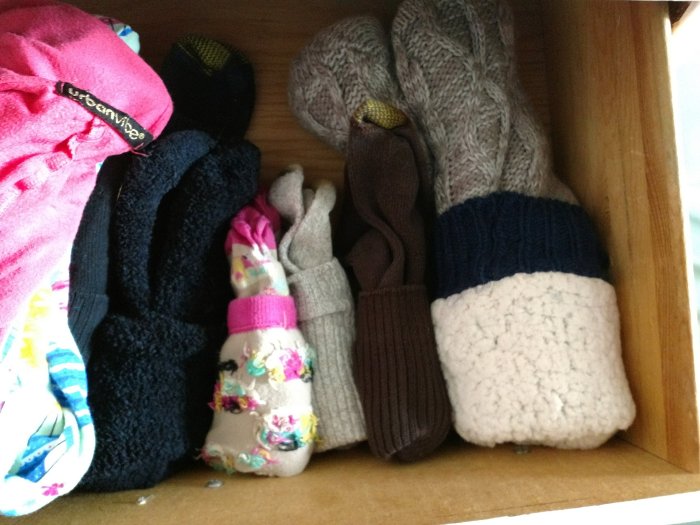
My Sock Drawer (I think 2 pairs of my socks are in the laundry):

Currently, all of my socks have holes in them (for the past couple years) so It dawned on me that I should get some new ones. But who wants to buy socks? And for the going price of nearly $12 a pair, I don’t think so!

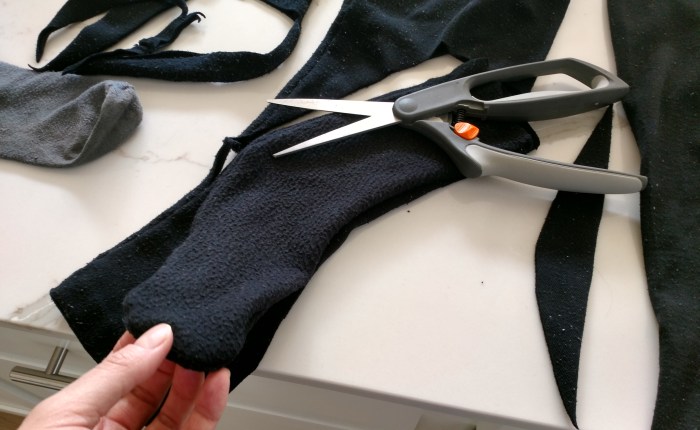
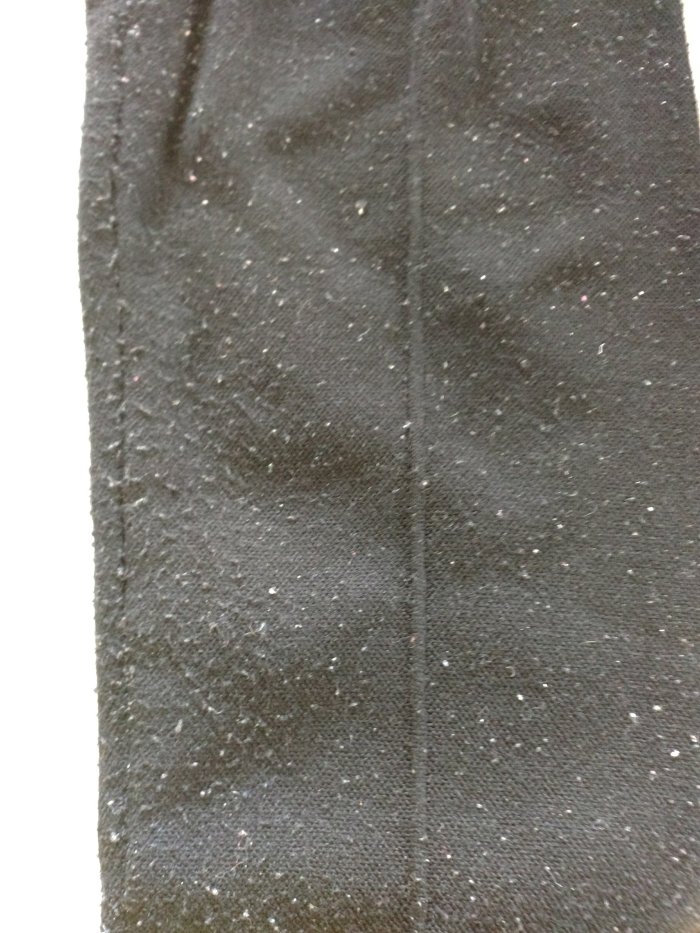
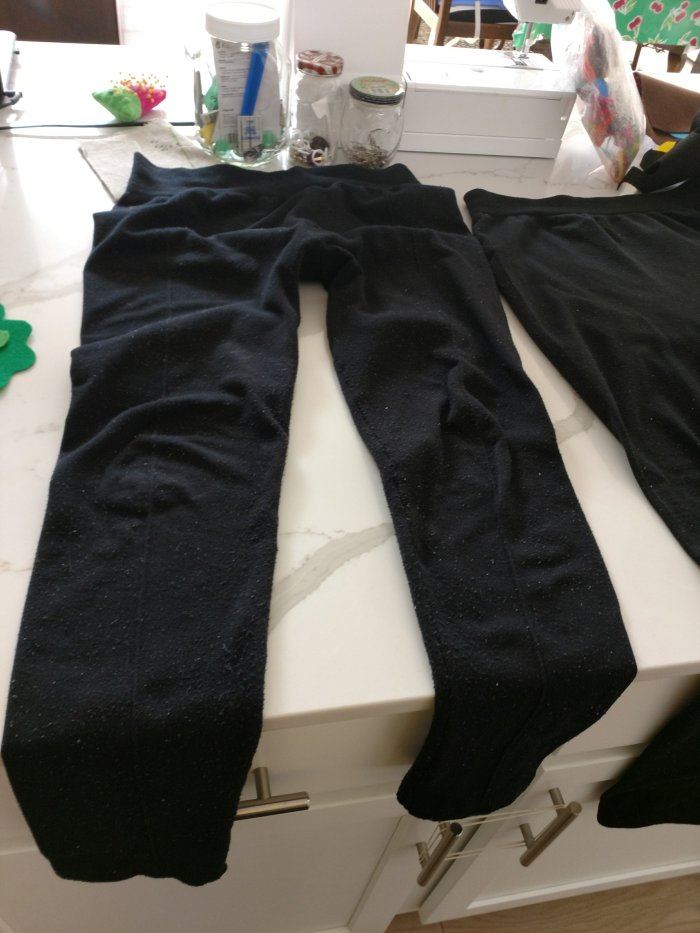
What I decided to do was take some stretch pants that are full of pillings, fuzz and damage and turn them into socks. I thought, once turned inside out, they would be perfect material for a snug pair of socks.

You know when your stretchy leggings start to look awful?? Sure, you bought them at Ross 4 years ago for $6.99– but they’re ready to be recycled now.

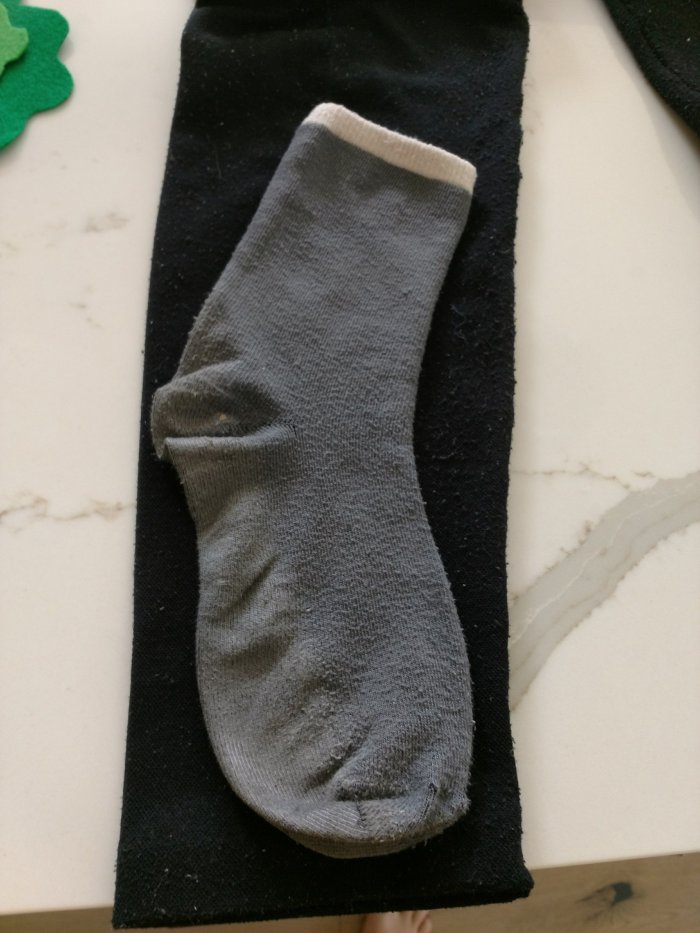
Well, let’s turn them into socks, sounds Good? Use an old pair of your socks like this as a “template”. Next, cut around the sock and sew!

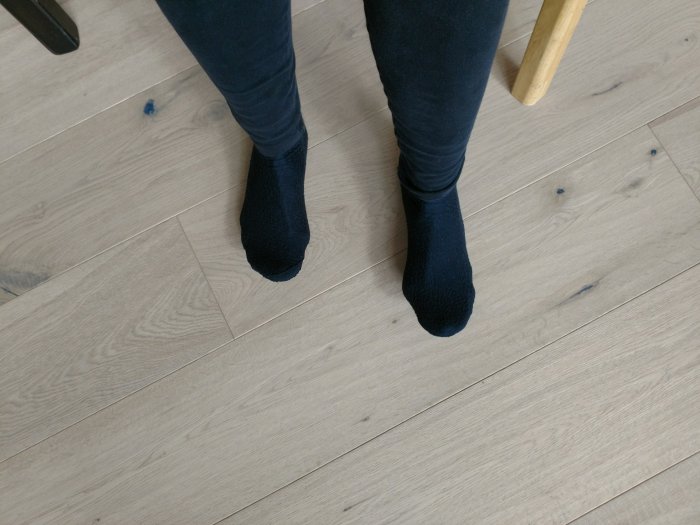
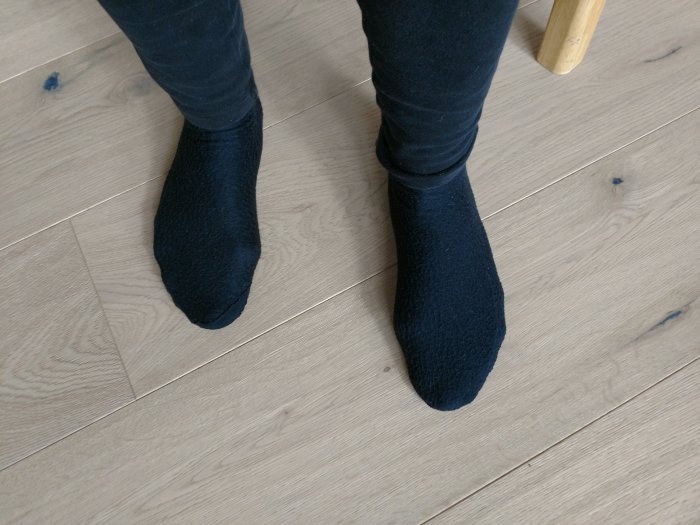
Here they are on my feet. Socks from old worn out leggings– they FEEL GREAT!

I’m sure with this pair of leggings I can probably get 3-4 pairs of socks! Also, make sure and save the waist elastic from the leggings to use on another sewing project!

I plan to make a bunch of socks over the next few months so please stay tuned!

PS: This is my first blog post I did 100% on my phone while simultaneously breastfeeding my baby. A bit tough, so excuse the cursory job. Now to change a diaper.

Biology LAB GIRL OUTFIT I MADE for less than $3.00!

The past couple of days I’ve been busy with what I’d like to call my “Biology Lab Girl Outfit”. I wanted to make my toddler a little shirt and pant set with a cute biology/science theme.

I was in Jo-Ann’s (Jo-Ann Fabric) the other week and couldn’t resist purchasing 1 yard of this fabric:

IMG_20180308_230218388.jpg

Beakers, flasks, vials, droppers, microscopes, DNA…even what appears to be the atomic planetary model. SCIENCE FUN FOR YOUR LITTLE ONE.

With my coupon, I was able to get 1 yard for less than $3.00 :).  It would be just enough to make a top for my 2 year old.

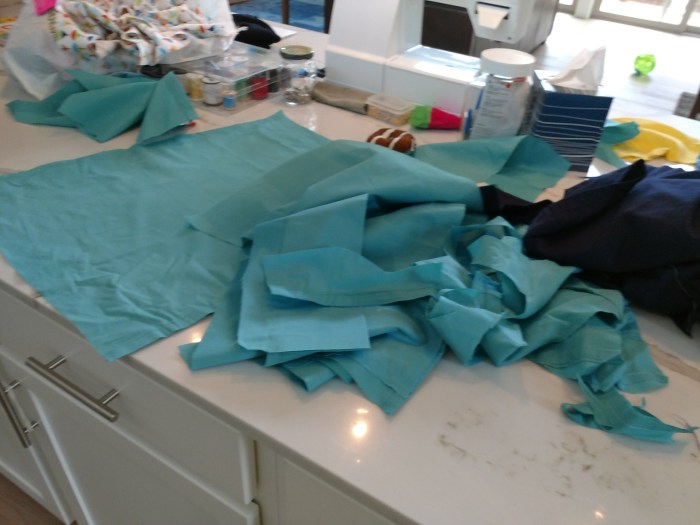
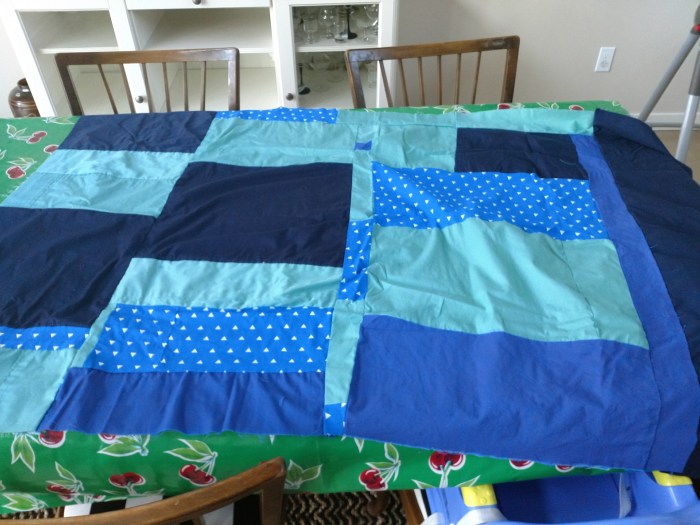
What about the pants? At home, I happened to have a bunch of bedsheet scraps from one of my last projects. I thought, why not cut up these scraps and sew them together–quilting style–so that I have one solid sheet of fabric to make kid pants?


IMG_20180307_091529724.jpg


I started to sew the random scraps of bedsheet fabric (pictured above) and here’s what I got: a solid piece of (imperfectly made) “fabric” that I can now use for kid pants:

IMG_20180310_070412104.jpg


Now. Starting on the top…. I downloaded this pattern from Made Everyday a few months ago and have been using it ever since.


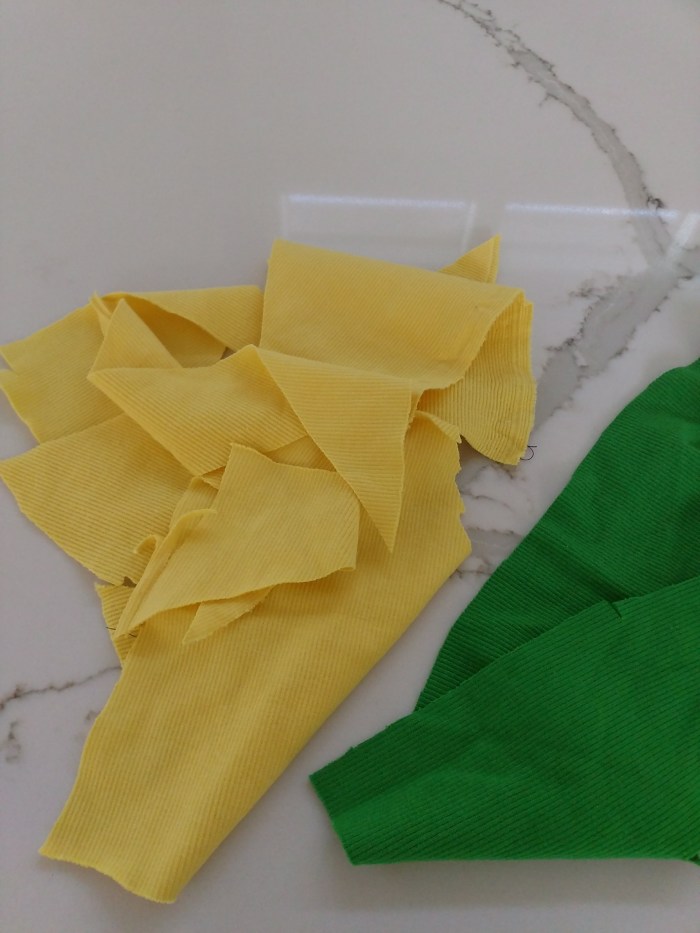
What about the top collar? I happened to have just a tiny bit of yellow knit ribbing in my “fabric scrap bag” . This was all I had, so I had to cut it up and piece it together to make a shirt collar.

IMG_20180310_071712928.jpg


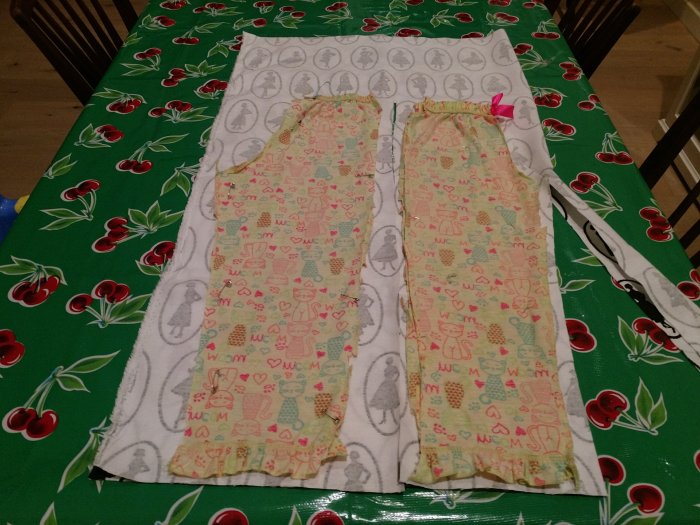
Now, working on the pants from the “quilted fabric” I had on hand to make the pants for this outfit. Yes, I used an old pair of girls pajama pants as my pattern which I had purchased on-sale at a thrift store. I just cut it up and have been using it as my pattern for all my kid’s pants. I used 1 inch wide elastic for the waist.

IMG_20180310_071359401.jpg


And here they are (different sides, different angles etc). They are a bit long for my toddler so we roll them up for now. The waist fits perfectly! Lovin the results!


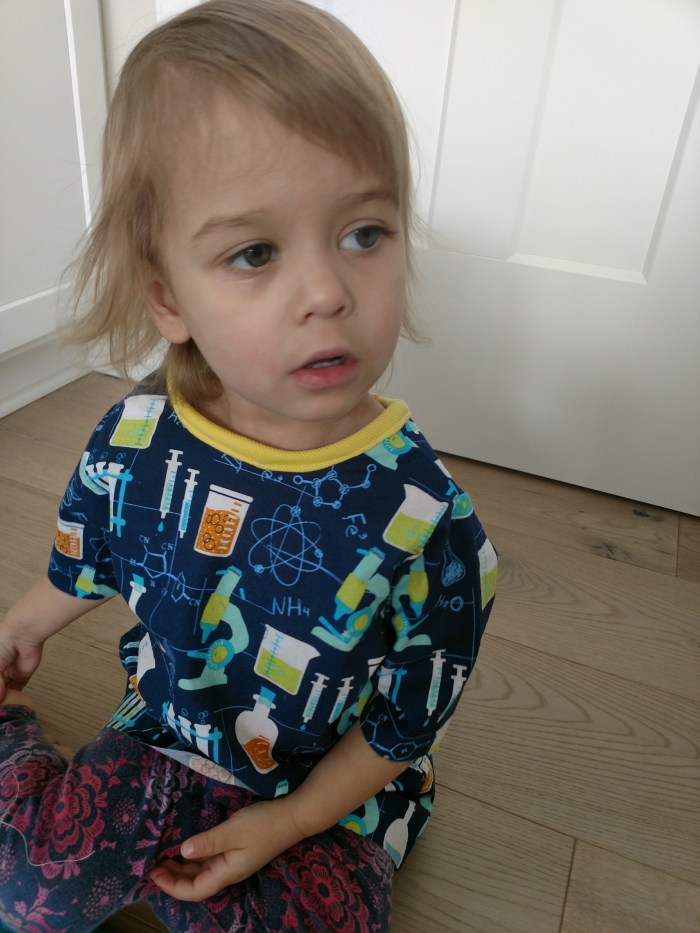
And here is the top. Finished product 🙂 (I’m actually still working on a button on the back of the top) but here it is for now:


Based on her expression here, I think she’s in love with the top. (Notice the ribbed yellow collar I made from those yellow scraps pictured above.)

IMG_20180310_115421167.jpg


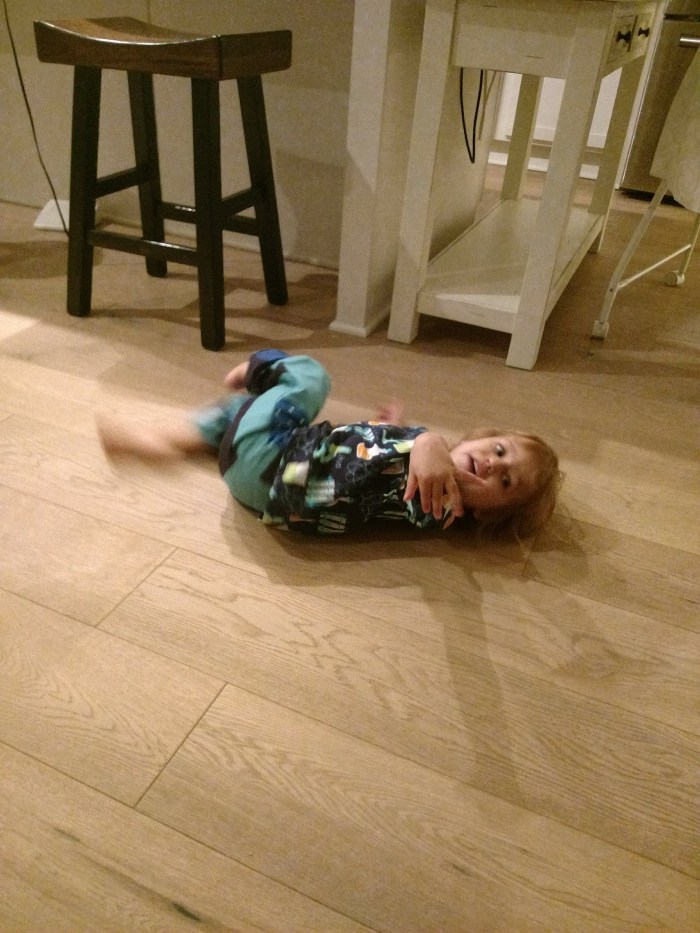
And here she is, rolling around with the outfit (both top and pants).

IMG_20180310_185207221.jpg

Outfit I made for less than $3.00. Bonus: I got more experience sewing!!!!


PAJAMA PANTS I MADE FOR MYSELF

PAJAMA PANTS I MADE FOR MYSELF

A few blog posts back I mentioned that I would be making a pair of pajama pants for myself. I’m sure you’ve been anticipating their arrival–and they’re finally here. I went and found some really soft, flannel-ish fabric with a hot-air balloon pattern from Jo-Ann’s Fabric. Adorable. Yes, this store is one of my favorites. The material was 40% off with my coupon. 

I had an old, torn pair of pajama pants that I cut up and used as my “pajama pants pattern”. IT WORKED PERFECTLY! I didn’t spend a penny on the pattern.

Using my old pajama pants as a pattern for making my new ones 🙂

IMG_20180304_225141556.jpg


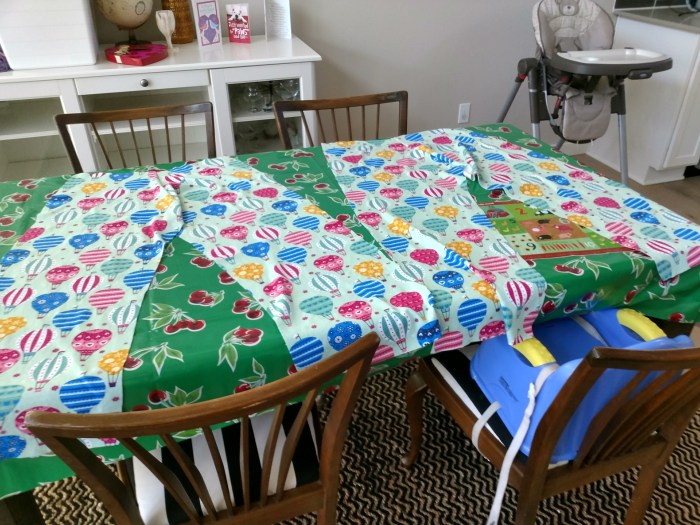
Front and Backs of new pants cut out (and butt area sewn) before piecing them together

IMG_20180305_074117032_HDR.jpg


(I used 1 1/2 inch wide elastic for the waist band).

IMG_20180306_100420081.jpg


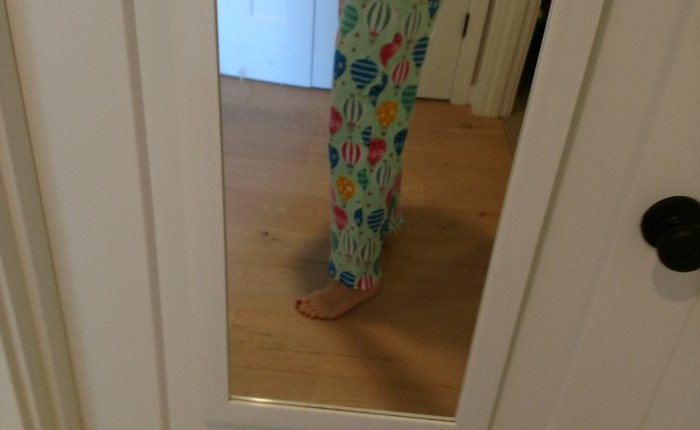
Finished product. I love how they feel and how they fit. Super impressed with myself today!!

Toddler Book I made from Old Jeans

Toddler Book I made from Old Jeans

If you ever have an old, unused pair of jeans lying around and some cheap felt, why not make a cloth children’s book? That’s what I did–and that’s what I’ll be doing. It’s my new thing–so expect to see a bunch more of these creative, fun cloth books for children–my own ideas, my own art/cut-outs etc. It’s a great way to fuse my love for art, writing and sewing/crafting.

I’ve really been getting into the habit of using random supplies (or even junk) that I have on hand to make things for the kids. In fact, I won’t start a project unless I have most of the materials lying around somewhere. I always come up with the idea based on what I have on hand–that’s it. No Pinterest, no internet googling. That’s my challenge. Use what you have and come up with a random idea for it. Try to spend as little money as possible on materials (if any at all). You’ll discover that it’s very satisfying to challenge yourself to be as creative as possible. Remember, it doesn’t have to be perfect. Just let your imagination flow. You’ll come up with tons of ideas!

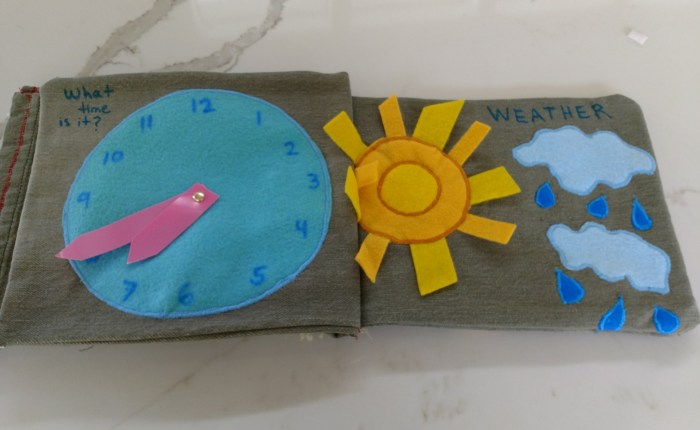
My First Cloth book for my toddler:


Some more pages of the book…by the way, the “hands” of the clock below were cut out from a left-over plastic Dixie plate from Clementine’s birthday party.