SIMPLE MINI CHOCOLATE GANACHE CAKE FOR VALENTINE’S DAY!!!

SIMPLE MINI CHOCOLATE GANACHE CAKE FOR VALENTINE’S DAY!!!

I’ve found myself so busy with everyday life that I decided to stop doing Facebook. What do I mean? I mean, I decided I needed a break. No. I wouldn’t use it that much, just when breastfeeding. I would stop scrolling through all the posts and reading comments and getting agitated or curious.

I really do like any post that makes me think or inspires some sort of thoughtful cognitive application. I love being involved in clarifying discourse.  I like the smart people on Facebook who fight battles with their intellect and knowledge. I like being the spectator. I enjoy posts that prick at me, or bother me, and I like ones that inspire me too. I really love them all–(except memes with cute animals or any uncreative “reshare” post.)

BUT….this was taking WAY too much time and removing me from things that I wanted to accomplish, like blog, write, sew, bake, paint… work on my online course–anything more productive that Facebook.

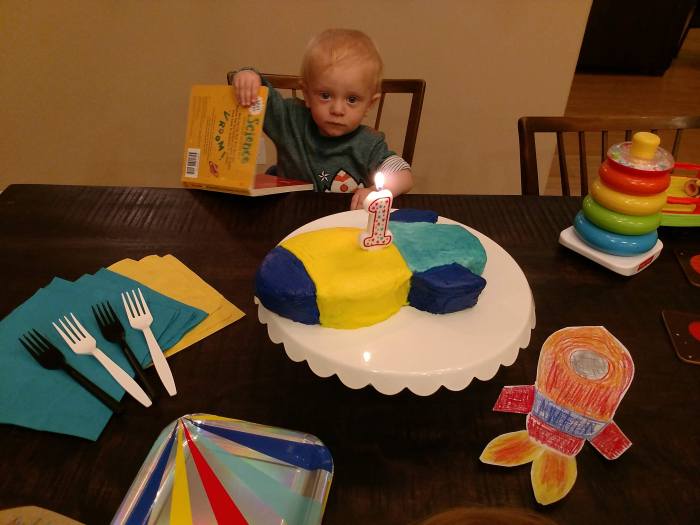
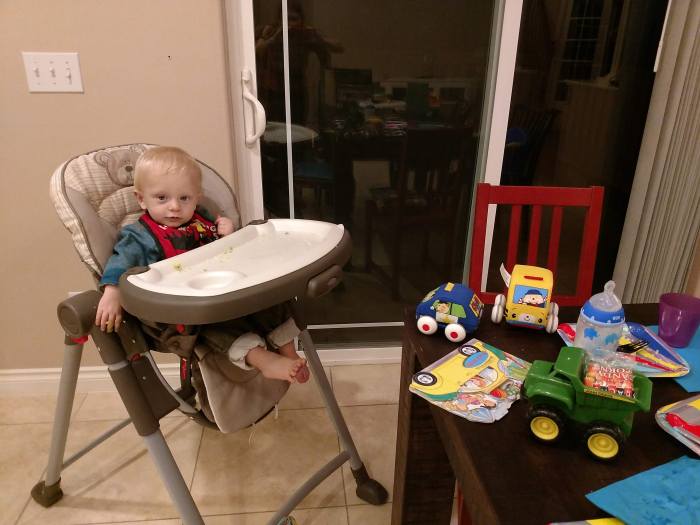
The list of things I want to try grows by the day and I find myself overwhelmed with ideas and unable to tackle any of them. Having two children is great because it really gets you thinking of all the things you could be doing or learning–meanwhile, I’ve got a bucking bronco and I’m trying to change his diaper as he runs off screaming mid-diaper change EVERY SINGLE TIME.

On this blog I like to post what I’m doing; what I just whipped up–even if it’s a bit boring or “imperfect”. What else are you going to blog about if you can’t fit it into your “everyday happenings”, right?

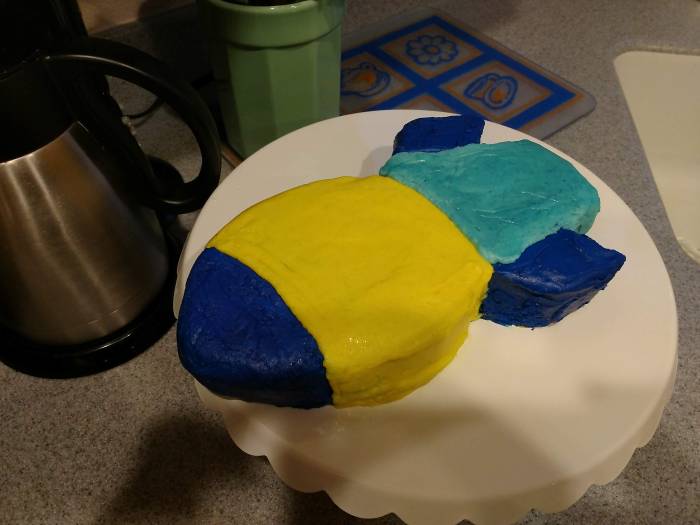
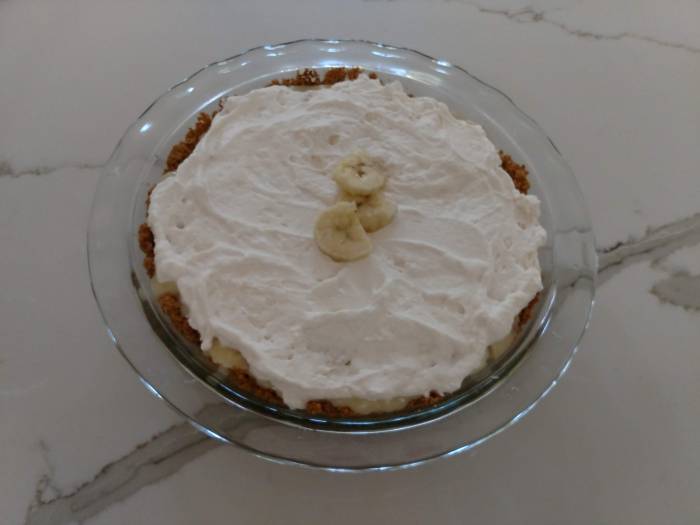
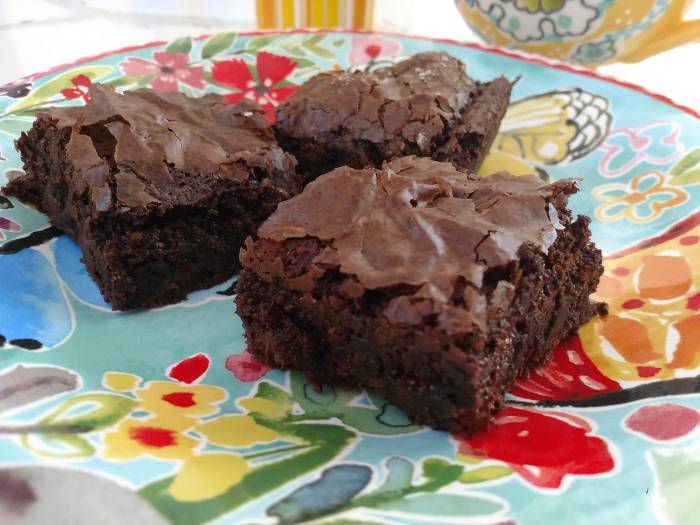
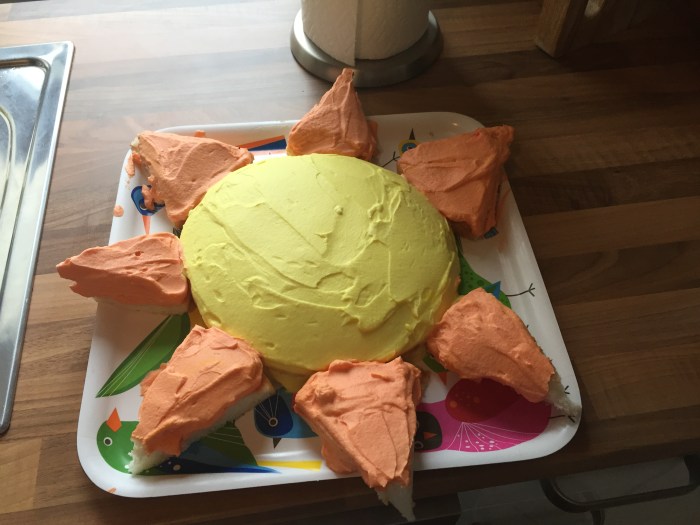
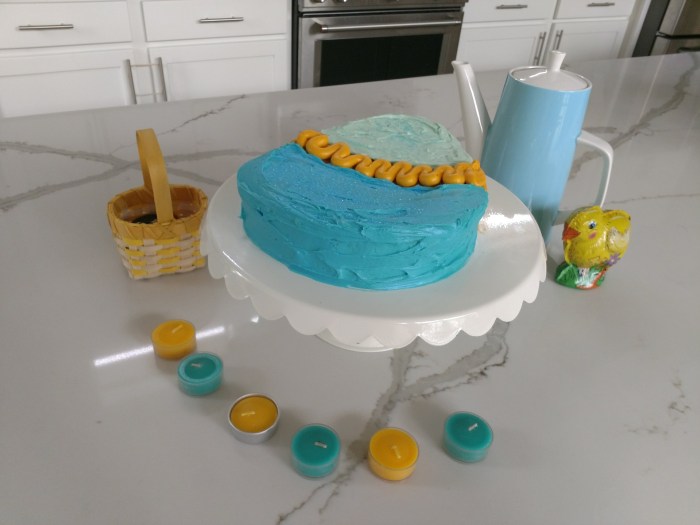
With Valentine’s Day coming up very soon, I thought I’d share a pic of a cake I recently made.

img_20181209_193845388

This is a simple little Valentine’s Day Cake. I thought this one up but I’m sure there are a million similar versions out there.

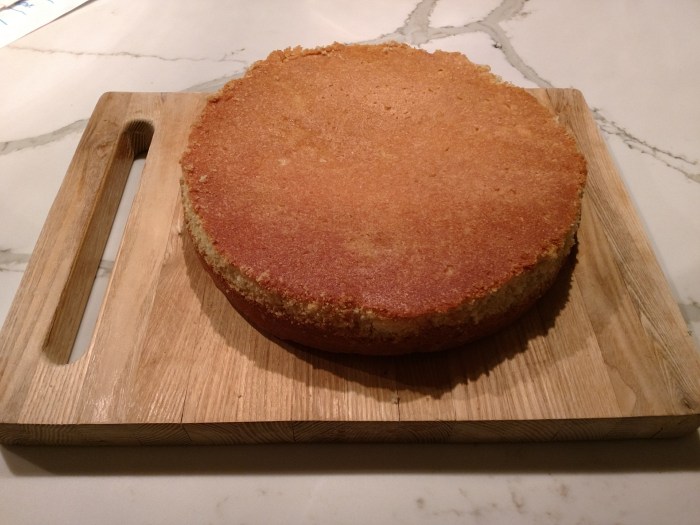
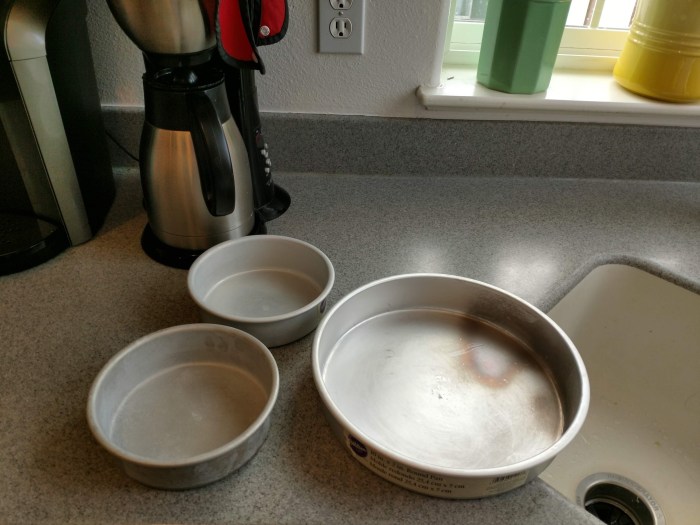
Instead of using a big cake pan (like the big one pictured below) I used the two little ones.

img_20190211_122805767_hdr

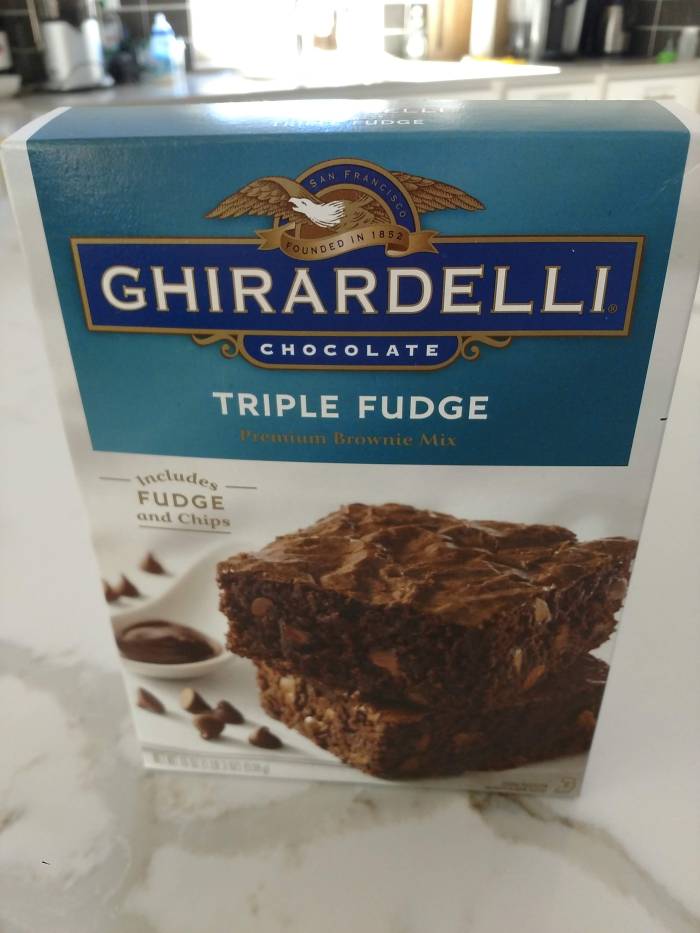
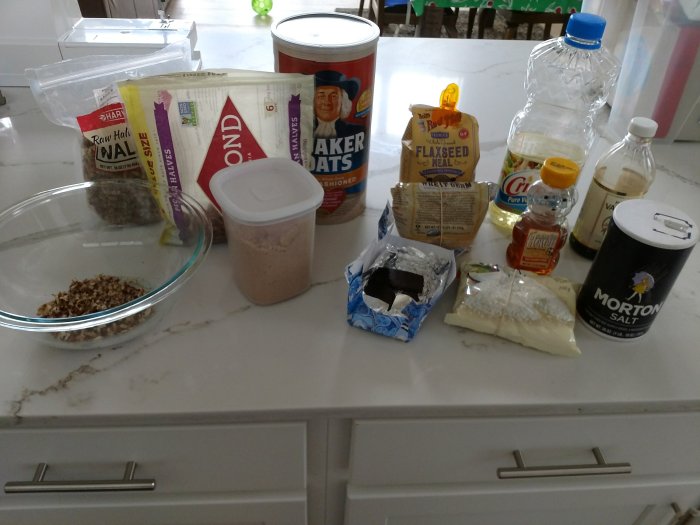
I used the recipe off the back of this Hershey’s Cocoa powder box:

Very easy.

Once the chocolate cake was baked and cooled in the fridge, I whipped up a chocolate ganache (there are a million recipes on the internet). I just used the ones with heavy whipping cream, chocolate chips and light corn syrup.

I made a raspberry filling. I cooked up red raspberries in a little pot with a squeeze of lemon juice and some sugar and corn starch.

Then I made a little raspberry heart shape on the top of the ganache (once the ganache had hardened).


Let your imagination take you away this Valentine’s Day!


Advertisement

What to do with OLD LEFTOVER RICE/QUINOA?

What to do with OLD LEFTOVER RICE/QUINOA?

Alright, so just a quickie here. Nothing too exciting.

Do you ever have 1,2…3 day old rice or quinoa in your fridge and you’re not sure what to do with it? You feel bad about wasting it so you just let it sit there, but then you eventually toss it out. Or…you make unhealthy fried rice.

That’s what I’ve always done. It gets kind of stale and sometimes the birds will eat it if I season it correctly.

What if I could just eat it? I’m always a sucker for trying things that save money.

Maybe, one day when you’re good and brave like me, you can revive it…transform it into Jambalaya or West African Jolof Rice.

My family *DOES NOT* like this kind of food, but I happen to LOVE it;
so here goes..just for my taste buds.

So grab some of the ingredients pictured below. These are what I had on hand…(oh, and maybe a slice of bacon or two and some extra diced tomatoes sitting in your fridge if they happen to be there..). It’s really not a big deal.

On the stove, heat your olive oil on medium-low. Add your diced up Anaheim chili pepper, diced onion and grated carrot. Saute a bit.

Toss in some diced up sausage and/or bacon. Sprinkle seasoning. Throw in your refrigerated leftover rice and/or quinoa (I used both). Sprinkle olive oil into the mixture as it Cooks on the stove top.

Super easy and done!

A plate full of Jambalaya from OLD rice and Quinoa. Hey, it actually tasted fine. But even better? It was healthier than some other options and I used everything that I already had on hand.

Don’t eat the rice past a few days.

If you want to transform older rice into a Jolof-style, you can add a tablespoon or two of tomato paste into the olive oil as it’s cooking/almost beginning to fry/just getting hot.

Once you cook the tomato paste in the oil for a minute or two, add the leftover rice or quinoa and add a sprinkling of water. (You have to experiment as it depends on how much leftover rice you have–so go easy on the water– and you don’t want it to turn soggy, just slightly moist and revived.) You can add veggies that you have cooked in another pot or sauce pan to the red/Jolof rice. You can add fried meats or fish too.

No. It’s not gonna taste like the authentic Ghanaian Jolof rice, or the Thieboudienne (red rice and fish) from Senegal. But it works if you’re in a pinch for dinner.

My Rocket Ship Birthday Cake(Celebrating my Son’s FIRST BIRTHDAY!)

My Rocket Ship Birthday Cake(Celebrating my Son’s FIRST BIRTHDAY!)

“You are not in a contest with other people, you are in a contest with yourself. Every day find ways that you can improve yourself–your character, your efforts, your knowledge, your creativity, your ambitions…your emotions.” –(me–quote from me today)


For my son’s first Birthday, I wanted it to be extremely simple and cheap (use what I already had on hand) but also have some fun and bright memories (and pictures) for future years.

If you’re not into children’s movies/cartoons/videos/characters what to do for a Birthday? I’ve found that a good (and extremely cheap) way to create a “Birthday Party Theme” is to look around your house and take account of toys and books that you already have.

No, I do not go onto the internet first “to look for ideas”. In fact, I highly discourage it because you’ll be intimidated by all the amazingly perfect creations put forth by other experts. You’ll either decide not to do anything–for fear that it will be a failure or you’ll be tricked into thinking that you have to spend a bunch of money “to get the right look”. (I’ve probably been on Pinterest less than 10 times in my entire life! No kidding).

Also, this isn’t very creative is it? The point is, COME UP WITH THE IDEA IN YOUR OWN MIND FIRST and, if you absolutely have to, start surfing around the internet because, say, you forgot the recipe for the frosting you have in mind. You get the picture.

What are a bunch of things already at your fingertips that you can extract a theme from? For us, it was space-related things. Mind you, we only had a couple things in this category, but I thought it would be fun to create a tiny little First Birthday Party for my son along this genre. It would just be our family, of course, since we don’t have any relatives or friends here in Alaska.

I didn’t want to buy a cake; but I did want to experiment with another homemade cake that you form into something related to the theme. After all, I had all the ingredients on hand and it’s more baking practice for me. 

This time, I chose a rocket ship. I used the same white cake recipe I’ve used in the past–extremely boring and not the best flavor in the world–but SUPER EASY TO WORK WITH. You can find it on an earlier blog post of mine called “Pagan Party For Kids” or “My Robin’s Easter Egg Cake”.

Once baked and cooled in the fridge in plastic wrap (overnight), I pulled it out and cut the cake into a rocket ship using a template I made from paper.


And I did a quick frosting job here. No, that’s not fondant, it’s just powdered sugar, butter, milk and vanilla frosting that has been tinted.

img_20180926_1957089241

With a cake like this, we will be flying to the moon in no time.


I also made a couple little rocket ships from cereal box cardboard.

Our Baby having his first Birthday!

Everything pictured here are things that I already had on hand. I didn’t buy a single thing. Even the Birthday candle was my daughter’s when she turned 1! Remember the old phrase, “Reduce, Reuse, Recycle”. Birthday presents were sent to us from Grandma and Grandpa and Auntie, of course.

img_20180927_2010218032img_20180927_2010038781img_20180927_202744218_burst001img_20180927_202738769


I MADE A SUMMER TANK TOP (AND A YELLOW SKIRT TOO!)

I MADE A SUMMER TANK TOP (AND A YELLOW SKIRT TOO!)

I think it was Jordan Peterson who said, “Compare yourself to who you were the day before, not to who someone else is today.”

Learning to sew clothes has been a trial and error process–but I’m learning to compare my sewing to how I was sewing a few weeks ago…a few years ago. I’m terrible with spatial cognition. I don’t see things very quickly. My visual processing speed is delayed (compared to others) and my mind has a hard time manipulating objects in space and considering alternative, yet accurate positions.

Sewing has been a rough pursuit but it’s EXACTLY WHAT I NEED. I need to have some outlet for strengthening these intellectual capacities. Even better, I get to meld my penchant for creativity and art with this hobby. I don’t think there is any activity that gives me more FLOW than attempting to SEW. Sorry. Bad rhyme.

It’s the designing part that really draws me in. Attempting to design a piece of clothing and then sewing it. Ahh, nothing feels quite like it–especially when I get it roughly right. Painting is a close second.

I’m realizing that I need to take more risks with design and sewing. I often worry that “I’ll be wasting fabric”, so I hesitate to try something. It’s super easy to mess up! I’ve done it repeatedly even when making a fastidious effort to follow instructions.

If I go all the way off the tracks, can’t I expect to have a mess on my hands and fabric that will end up becoming pillow stuffing? YES. But compared to nonexistence, making mistakes is BLISSFUL!

I’ve started to get more creative and worry less about my final product. I work with what I have–mistakes and all, and try to come up with something. So far, I’m figuring things out.

I was having THE MOST DIFFICULT TIME with this TANK TOP that I designed. It would be the first shirt/tank top I have made for myself. I made enough mistakes to call it quits. I kept adding on and cutting and changing things around.

I used a knit fabric and here is where I started. I also added some teal knit fabric to it because the tank top WAS TOO SHORT.

img_20180415_191709718

And here is my final result! I zig zag stitched the edges around the tank top and a ruffle emerged! INSTANT FASHION!

If you look closely (or maybe even from a distance) you’ll notice its asymmetric. Not on purpose of course, but I’m pretending it was intentional. You can see how the sleeves/shoulder straps (or, whatever you call them) are of different widths.

Not gonna lie, I LOVE IT! IT FITS PERFECTLY. Then again, you’ve got to be pretty bad if you can’t fit into a knit!

I’m just so pleased with it, especially considering how it was looking beforehand, how I didn’t use a real pattern…I just pulled it out of no where. Adding that extra strip of teal fabric from my stash not only added to the length–which I desperately needed–but gave it a fashionista look.

img_20180725_1141072591

To think I almost threw out this wad of fabric, but I kept going with it, kept playing around.

I’m so happy I kept playing around with it! It fit perfectly–as knits have lots of stretchy give to them. Perfect for hot summer.

Here is some cheap fabric that I bought from Walmart. I had pieced it together–almost like pillow cases and then started to randomly sew. I didn’t know what I was doing here. I thought, why not sew it all together and form it into a skirt?

img_20180603_175203026

And here is my final skirt result after MANY CHANGES. It was tough to get it just right! I installed a long, 7 or 8 inch zipper in the back and lots of random, off-kilter darts. But who cares? Notice that I added a piece of fringe polka dot fabric on the bottom for extra flair and zig zag stitched the edge! Still, a very simple look.

The trick to making a skirt is wrapping some fabric around your waist and then going from there. That’s all I do. Once you have a rough idea of how much fabric you’ll need for your size, you just start sewing. Towards the end you decide…do I want to add a top waist placket? Do I want to add a zipper or elastic? You can make those decisions later.

The best part? It FITS PERFECTLY! Hello Summer. I feel like I should be behind a Lemonade Stand or something.


img_20180725_1428336392

How about some homemade lemonade spiked with some Pinot Grigio? Chilled white wine is PERFECT for a summer evening on your porch with your Kindle. I’m still trying to finish Ben Sasse’s book “The Vanishing American Adult”.

img_20180727_181006940-collage

The key to sewing is not being discouraged by Nazi seamstresses who keep insisting that “There’s only one way to do it”. 

Keep trying and keep thinking up creative combinations. You don’t have to follow someone else’s script. You’ll improve with measurements and sewing machine accuracy eventually–but let that go for now! Put your focus on the fun part–THE DESIGN! It will motivate you to keep going!

img_20180725_1515156643

COLD BREW COFFEE RECIPE and PAINTING GAUGUIN’S, “THE YELLOW CHRIST”.

COLD BREW COFFEE RECIPE and PAINTING GAUGUIN’S, “THE YELLOW CHRIST”.

This week has been one heck of a ride. Lot’s to be excited about and lots of future adventures on the horizon that I’ll be blogging about. I’ve been doing some “copying” lately with regards to recipes and, well, famous paintings. Learn from the best right? Sometimes creativity is playing around with other people’s ideas–make sure and give them ALL THE CREDIT, of course.

Another thing…I failed at a scratch banana cream pie. I noticed that I had extra whip cream and some bananas (about to go bad), so why not attempt it? It turns out that cooking custard and getting a desirable consistency is something only genius cooks with arcane culinary and mathematical skills can master.

Here is my pie. But I won’t ruin your moment and display the runny, slushy middle. It tasted AMAZING. Impeccable freshness with a deliciously thick homemade graham cracker crust. However, the consistency of the filling was WAAAY off–even after allowing it to set for 6 hours uncovered in the fridge.

Making a “firm enough” custard filling is one of those precarious situations. You better not undercook or overcook it and it has to be done accurately within 5-7 minutes on your stovetop. You have to stir rapidly during the boiling process (no distractions or multi-tasking). Oh, and don’t let your custard brown on the bottom of the pan during your 5-7 minute boil. It’s very difficult to achieve a decent result because the parameters are so strict. Don’t accidentally scramble the eggs either–you’ll get lumps.

I don’t want any liability or litigation, so I won’t be posting this banana cream pie recipe here. I will give the taste of this pie an A+ but the consistency an F–it was very creamy (no lumps) but it just wasn’t firm enough. My daughter keeps asking for more–so we’ll be eating it over the next couple days.

img_20180708_083449893

After my pie failure, I decided to go for something easier. How about cold brewed coffee? I had been skimming over the Pioneer Woman’s cookbook and noticed her recipe. I basically followed her General Plan for iced coffee.

I used a very dark coffee bean (Rwandan Coffee beans) and ground them up. Then I scooped 3 large cups of my freshly ground coffee and dumped them into a glass bowl.

Next, I poured 6 cups of COLD water over the coffee grounds and gave it a quick mix with a spoon. Finally, I covered it in plastic wrap, set it on the counter top and let it brew for over 12 hours.

Once the 12 hours were up, I found a bigger glass bowl, a sieve and some paper towels. I strained the ground coffee mixture through the sieve and about 2-5 layers of paper towels (yes, this will take a bit of patience but I promise it works as a PERFECT FILTER and I didn’t get a single stray coffee ground in my final brew!


I poured the cold brewed coffee into a juice dispenser and let it chill in the fridge over night. My only regret is that I didn’t make enough!

Let me tell you, this is the BEST CHILLED/ICED/COLD-BREW COFFEE I’VE EVER TASTED!

Just fill a glass with ice cubes, decant your brewed coffee into the icy mix and dribble in some half and half and a spoonful of sugar (or don’t). Either way, its just luscious!

I thought that the dark roast would be too-overpowering, but it wasn’t at all. It just tasted rich…deeply flavored even after a splash of half and half.

Another thing that I’ve been doing this past month is trying to paint, “The Yellow Christ” by Paul Gauguin. The Yellow Christ has always been one of my favorite paintings of all time. I just find the color scheme breathtakingly original. Gauguin is definitely one of my favorite painters–one of his paintings sold for 300 million in 2015–just to give you some perspective of his classic popularity and talent.

Here is my version:

img_20180708_1925598651

We’re also working on another acrylic painting (this one, 100% my own idea) with my little painting helper beside me!

img_20180708_193019775


Boxed Brownies For Imbeciles!!!

Boxed Brownies For Imbeciles!!!

I apologize if my brownie blog post conjures up feelings of oppression or triggers anxiety. I’m happy for you if you’ve already mastered the astute skill of boxed brownie making and I’m not sure I can offer anything in this post.

This post is actually for ME! Because I’m incompetent when it comes to brownie-making. I’m posting it here so that I can refer to it for my future brownie-baking endeavors.

I’m 37 years old. I’ve never, ever made decent brownies to save a squirrel. I’ve tried baking them from scratch. I’ve tried making every possible boxed brownie mix I could find but never any success. NEVER.

Like many, my problem isn’t with flavor (who can’t add a few marshmallows, chocolate chips, nuts or whatever–as if that’s brilliant?). My failure has always been with texture…consistency…how they swim and melt on my palate. In the end, the brilliance is in the baking.

I always make brownies either A. Undercooked or B. So hard and tough that you feel like you’re eating beef jerky.

THE TWO THINGS I LEARNED ABOUT MAKING BOXED BROWNIES?

Over the past few months I’ve been doing some brownie research. Why does this ALWAYS happen to me? I’ve discovered that there are a couple reasons.

The first thing that I kept coming across was that in order to achieve a chewy, gooey texture with adequate density and thickness (but still baked properly) you need to make a double batch (2 boxes of brownie mix) and bake in a 9×13 aluminum pan!

The second thing is to mix the wet ingredients separately, add them to the dry ingredients, and let your mixer swirl the ingredients for just a few seconds–just until they are imperfectly wet and mixed. If you beat the ingredients too long, your brownie batter develops air pockets and makes the texture more like a cake than a brownie.

Today I finally made brownies that tasted delicious, but even better–had the correct “brownie-texture” once I followed these simple rules:

  1. Use 2 boxes of brownie mix. I used this one:

img_20180702_153604349

2. Double all your ingredients as per your box (obviously, you’re using 2 boxes).

3. Mix the wet ingredients separately and completely.

4. Add wet ingredients to dry ingredients and beat with mixer just until mixed.

5. Smear a decent layer of vegetable oil all over a 9×13 aluminum pan.

6. Pour brownie batter into super greasy pan.

7. Heat oven to 325 degrees.

8. Bake the brownies for 50-53 minutes. I baked mine for 51 minutes and they turned out perfectly gooey inside with a crackly top.

8. Let your brownies cool (and continue to cook in pan) for over 1 hour after you pull them out of the oven. I cut mine after about 2.5 hours.

They are still gooey inside but sufficiently baked! This has been my struggle!! Finally I have a decent brownie plan for future brownie creations.

img_20180702_1451094941

No Cereal in Cupboard? Granola from Scratch.. Plus- Our Tomato seeds have finally sprouted!

No Cereal in Cupboard? Granola from Scratch.. Plus- Our Tomato seeds have finally sprouted!

Now that I figured out how to make blog posts on my phone I can make content while I nurse my baby. But he’s super interactive with hands flailing the whole time. We will see if I can complete this post.

I’d like to blog 2-3 times each week if I could find the time– but for now, I’m staying committed to my 1x per week at least– no matter how bad or weird it is. Blogging is as much about getting into the groove as it is about the content.

To preface this post I’d like to be clear that I never really follow recipes, so I apologise for not being very decisive with the instructions. I just can’t get myself to do it– I feel like I’m locked in a straight jacket. Plus, l always learn something memorable when I make a mistake.

Today I woke up to find our 1 cereal box was almost empty. While disappointing, it wasn’t tragic.

I realized that I had a variety of on-hand items that might be concocted into granola.

Things like: oatmeal, shaved coconut, pecans, walnuts, dark chocolate, flax seed meal and wheat germ. Honestly, these were all I had. My raisins had been depleted a couple weeks ago and I didn’t have any dried cranberries or pumpkin seeds that so many recipes suggest. Oh well. I had enough items to make it work. A practical point in being creative, for me, is figuring out strategies to use what l already have– for as little money (and as few trips to the store) as possible.

The main thing you need to make granola is oatmeal. I found some random items here:

Recipe:

3 cups oatmeal

chopped walnuts (3/4 cup more or less)

chopped pecans (3/4 cup more or less)

Coconut flakes (I used 1/2 to 3/4 cup)

1/2 cup flax seed meal

1/2 cup wheat germ

Brown sugar (to your preference)

Broken up dark chocolate bar (or chips or whatever you have)

Dollop of honey

Splash of vanilla

1/2 tsp salt

1/4- 1/2 cup vegetable oil

300 degree oven and bake for 10 minutes? Or whatever. Just don’t burn it.

Mix everything up:

Spread on cookie sheet:

And store your freshly baked granola in an airtight container.

It tasted delicious! Now to store by in the pantry. 😀

In other good news? Guess what? Our tomato plants that we planted from seeds are finally growing! You probably remember this blog post: Greenhouse where we planted them.

Well here they are. Tiny tomato plants finally popping out of yogurt containers. They’re growing!

MY ROBIN’S EASTER EGG CAKE! Welcome Spring! PAGAN PARTY FOR KIDS!?!? Plus– Spring Crafts

MY ROBIN’S EASTER EGG CAKE!  Welcome Spring! PAGAN PARTY FOR KIDS!?!? Plus– Spring Crafts

Fertility festivals are now being celebrated throughout the northern hemisphere so why not throw your own spring party?! I decided we should welcome spring. You know how that goes. This time I decided not to go “full pagan” but instead, decided to whip up a cake from scratch in the shape of an egg and throw a little tea party for the kids. Still too pagan for your religious preferences? Well next year we’ll be making cake crosses to celebrate Easter.
This cake was my first (decent) 100% scratch cake. We even made a couple crafts to celebrate the season.

Yes. I did try and make a cake from scratch before. Once. For my husband’s birthday. I told him I was going to make him a Sunshine cake. He thought it was a cute idea but was in for a terrible surprise. And it was a disgrace to mankind.

MY CAKE DISASTERPIECE of 2016. PICTURED HERE FOR YOUR VIEWING PLEASURE:

IMG_7170

So, as you can tell, my cake baking skills have improved a bit. I’m just slightly proud of this little beauty– mostly because I thought up the idea, the colors and the name of this cake when I was playing around with the frosting color.

IMG_20180328_160332671.jpg
My “Robin’s (Easter) Egg Cake” 🙂

NOW HOW DID I DO THAT? Here are some pics (and I’ll post the link to the cake recipe below). What a fun way to usher in the springtime than a splash of Robin’s Egg blue on your Easter eggs–or, in this case, cake?

Once I baked the cake, I removed it from the pan and flipped it over (sometimes the top of the cake is caved in a bit or dimply). ALWAYS FLIP YOUR CAKE OVER IF YOU’RE AN INEXPERIENCED BAKER LIKE MYSELF. The bottom is just so perfectly flat and ideal for frosting. My cake looked like this: caramelly sweet, dense, moist and just delicious!

IMG_20180327_220023890.jpg

After the cake cooled, I wrapped it in plastic wrap and let it sit over night. NOW THAT IS THE TRICK TO FROSTING A CAKE! If you do this, you are much less likely to smear crumbles of the cake into your frosting during the frosting procedure. Do you know what I’m referring to?

Then I cut an egg shape out of “cereal box” cardboard to use as my template for cutting the cake. Yes, I salvage all my cereal box cardboard for a variety of uses 🙂

I cut the “egg shape” of the cake the following morning:

img_20180328_144923904.jpg

I made my frosting and prepared several bowls for experimenting with colors to use.

Voila! Our vernal celebration.

IMG_20180328_152825961.jpg

IMG_20180328_153327314_HDR.jpg

I also thought-up these little chick and bunny rabbit placemats from some scraps of felt I had laying around. Just use a template that you have on hand (I used a chick plate–sorry, breakfast remnants still stuck-on) and a hot glue gun to seal on eyes and other features like cotton tails and carrots. SUPER FUN! I will be using these for next years spring décor too.


Here is the cake recipe link (the only thing I did differently was use 4 eggs instead of 5, bake for 35 minutes instead of 25 and I substituted whip cream for buttermilk–only because I didn’t have any on hand). The cake tasted delicious!

White Scratch Cake Recipe

Also, did you notice the chicks standing in the grass in one of the previous pics? That was one of my “dumb creations”. Just make cute chick cut-out’s from your old cereal boxes, paint them yellow, glue to skewers and prop them up in a box

Delicious Chicken Schnitzel Sandwich (Lunch Leftovers idea)

Delicious Chicken Schnitzel Sandwich (Lunch Leftovers idea)

A couple nights ago my husband suggested that we make Chicken Snitzel for dinner. Reminiscing of our 3 years spent in Germany, I thought, of course! Let’s try it.

It was a very simple recipe and you make it just like you would make a pork or Weiner Schnitzel.

The trick for any Snitzel recipe is to use fresh meat (preferably meat that you just purchased) and then brutalize the life out of it with your kitchen mallet. For chicken, you won’t have to pound the meat as much.

1.Season the chicken cutlets with salt

2. Dip in flour (shake off excess)

3. Dip in egg (shake off excess)

4. Dip in Garlic and Herb Breadcrumbs.

5. Fry in 2-4 inches of vegetable oil.

5. Blot off oil.

6. Put on Kaiser bun with your kind of condiments.

Leftovers for Lunch, Yes Please!!