My Vinyl Wasn’t Final

My Vinyl Wasn’t Final

You may have remembered when I had a couple vinyl chair that looked like this:


These were rather dirty vinyl chairs from the 1960’s. They were airport terminal chairs that came from France. Together they cost me 70 euros at an antique store in Germany. Also, the board which the cushion was sitting on was particle board that was crumbling apart, as pictured below.

My father cut me a couple new boards for the cushions to rest on. Instead of particle board that was 60 years old and disintegrating, he used ply wood like this:

img_20190420_120623685-1

I changed the vinyl to look like this (my first upholstery attempt). My first attempt at sewing with vinyl too. You may remember when I blogged about it here: Vinyl Chairs My First Try


But I realized that I actually really liked the original white look of the chairs so I went and bought white vinyl and started the process again.

img_20190418_091230631_hdr

And I did both chairs this time in white vinyl. Slightly different pattern.

img_20190418_210859970

And I did the other chair in the same original style but with a seam down the middle to effectively use my vinyl without having to purchase more, if you know what I mean. I button tufted the seat cushion (first attempt at button tufting too!). I can’t wait to do more button tufting!

img_20190620_105304603_hdr

And here they are together with some semi-cute pillows I sewed.


My $5.00 Thrift Store OTTOMAN REMODEL. BEFORE AND AFTER

My $5.00 Thrift Store OTTOMAN REMODEL. BEFORE AND AFTER

Anchorage Earthquake Recap

We made it through the big 7.0 earthquake here in Anchorage, Alaska (Friday November 30th 2018 at 8:29am). Thank you very much! There were no fatalities here, just lots of damage to our city. We have lots to be thankful for right now–especially for people. We thank scientists, engineers and strong building codes. The famous Haiti earthquake of 2010 killed 300,000 people and was also a 7.0.

Where was I during the earthquake? In the kitchen. I had just finished cleaning up after breakfast. As usual, Samson was covered in food and would need the usual 5-7 minute wipe down. I looked at the clock. It was 8:21 am. I removed him from his highchair and he started to wander into the living room. I started to walk to the coffee pot when I started to hear a rumble and a little shaking. “Earthquake” I shouted.

Without hesitation I scooped up both of my children. I dashed right into the hallway/doorway area. All I could do was shield both of them with my body as the house began to shake uncontrollably. The house was having a grand mal and I didn’t know what to do.

The painters, who earlier in the week were at the tip-top of a giant ladder painting our 20+ foot tall walls had now progressed to the shorter walls in the hallways and kitchen. As luck would have it, neither were on a ladder when the big quake started.

All I remember is a lot of real fright and cursing from all of us. I guess it didn’t last that long. But it seemed like an eternity. Both of our painters were life-long Alaskans. “Is this fairly normal to experience this?” I asked during the quake. “No. Never felt anything like this.” they said.

This past week has been one seizure after another…one aftershock after another. Sometimes I feel like I’m on a boat at sea.

My Thrift Store Ottoman Remodel

On the brighter side, I finally finished the ottoman I have been incrementally working on for 2 months.

In October I came across this old $5.00 Ottoman. I had to snatch it. Of course, a refreshment would be needed.

And here is a close up. The top vinyl covering was starting to break down.

img_20181020_103704164

Good news. The underlying structure and foam padding on this Ottoman were in terrific shape. All I needed to do was cut off the old vinyl fabric right along the seams and learn how to sew a snug, new one. Another sewing challenge for me.

  1. Cut off all the vinyl material that covers the ottoman along the seams. Avoid puncturing the underlying foam.
  2. Keep the old material that covers the ottoman. You will use it as your pattern for sewing a new one. Find some material (or vinyl) that you’d like to be the new cover. I used leftover vinyl from this project!
  3. Once you sew the cover for the ottoman, find a neat decorative fringe/trim at Joann’s Fabric to attach to the bottom part of the vinyl. These are a bit spendy. However, just bring in your 50% coupon to use for one item and you can get 2.5 yards of this fancy stuff for around $20. I attached this trim by sewing it onto the bottom, open section of the vinyl. You could probably glue gun it, but I wanted it to be securely attached for a LONG TIME.
  4. Once you sew your vinyl cover and before you snug it onto your ottoman, put it in your dryer for 10-25 seconds on LOW HEAT. Do this with extreme caution! I thought of this idea and realized that it works, but do it only for a few seconds on low heat. It will soften the vinyl just enough so that you can fit it around your ottoman.

YOU WANT TO GET THE BEST POSSIBLE FIT SO THAT IT DOESN’T LOOK TOO FUNKY.

Here is the old vinyl that I cut from the ottoman. Use this as your pattern to sew your new cover. You get the idea.

Here is the finished product.

img_20181203_130101755_hdr1

I Reupholstered An Accent Chair with MY MODERN MAJESTIC DESIGN (SEWING INVOLVED!)

I Reupholstered An Accent Chair with MY MODERN MAJESTIC DESIGN (SEWING INVOLVED!)

After two glasses of Port I think I’m a bit uninhibited and so I’m blogging again….You have two options: A. Leave or B. Forgive me

I keep mentioning that I’m going to reupholster old chairs I got at a flea market in Germany.

A couple years ago I bought BOTH of these lovely button tufted accent chairs for $70 at the American Ramstein Airforce base. What a terrific deal! As you can see here, chairs of this nature are not cheap: I was told that they were airport seats from France circa 1960. Waaaait whaattt? French airport seats from 1960?!? I fell in love.

img_20180413_174454232_hdr

But the vinyl has started to break down in places and become very dingy–even spray paint would not fix it :(.  Be careful when spray painting vinyl, it can leave a sticky, (nearly) permanent residue as it binds to the material. The particle board underneath the vinyl was literally starting to crumble apart.


I decided to embark upon another reupholstery venture, at least for one of the chairs. This time, it would be more challenging as I would need to sew the vinyl covers for the chairs. I would also need to cut out new pieces of wood to affix to the foam (thanks Dad!); particle board doesn’t last forever.

Make sure to cut off all the vinyl pieces neatly so that you can re-use them as your pattern. I decided to use a bunch of extra blue vinyl left from my previous chair project that you can see here.


Cut out your new vinyl using your old vinyl as a template. I’m just using vinyl scraps that I had from my previous project (so I didn’t purchase any new materials for this project).

It turns out that sewing coverings for chairs is akin to sewing clothes. Sewing the sides of the chair is almost like sewing sleeves. NOT FUN:

I want to be honest. This was one of the most difficult sewing tasks I’ve yet attempted. YOU KNOW HOW HARD IT IS TO MAKE A PIECE OF MATERIAL FIT SNUGLY TO SOMETHING ELSE? At one point I started to re-do my project. I decided to add in a couple stripes of another color of vinyl (teal) to my chair to give it a bit of flair:

img_20181010_151159131

I won’t bore you with the details–this chair was a REAL struggle. Finished results are here:

It’s the chair with the book perched on top of it. It offers some exquisite modern beauty to our living room: I’m so proud of my striped vinyl design–all from scraps!

img_20181013_110011720_burst000_cover_top

And what to do with some of the extra scraps of vinyl lying around? Attempt to make a purse, of course!

img_20181018_102711107

Yes! I still need to reupholster the other chair. To be continued…

We have a big paint job coming up and I will share the details for that too. All of those salmon colored walls in our living room? We’re turning them white.


I Reupholstered Our Dining Chairs With KID FRIENDLY Vinyl (2nd time!!)

I Reupholstered Our Dining Chairs With KID FRIENDLY Vinyl (2nd time!!)

Before our big move to Alaska, I was busy reupholstering our dining room chairs. I wanted to finally share the results!

I know what you’re thinking, “Didn’t you already reupholster those chairs a couple years ago?” Yes! I’m still working with the same chairs.

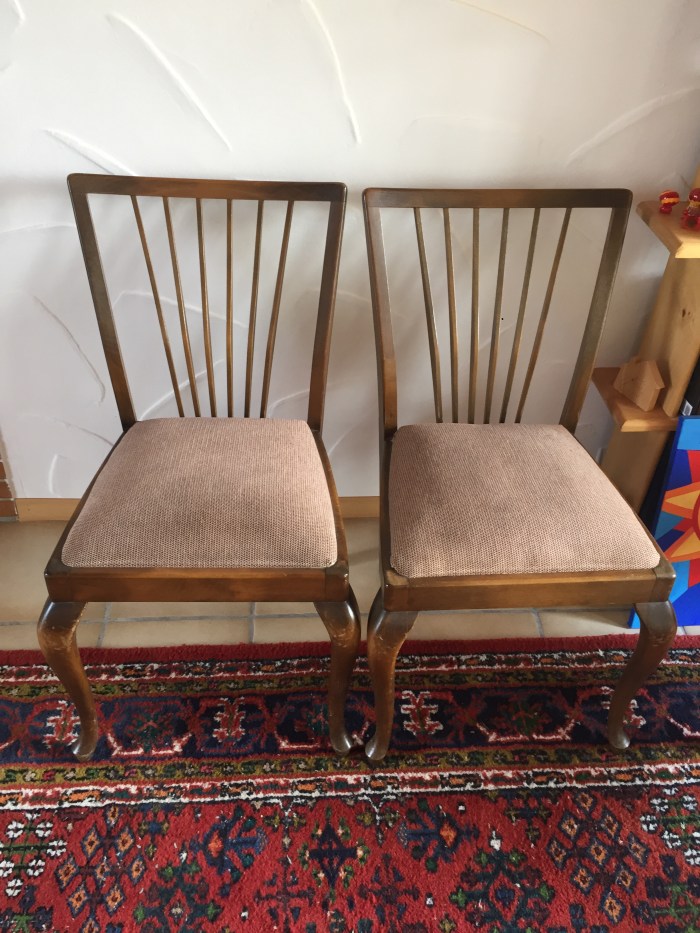
You remember when I bought these (pseudo?!) Chippendale lovelies for only $20 euros a piece at a little flea market in Germany? (That’s right, I got 4 of these CHAIRS FOR ONLY 80 Euros!). If you go to your local Pier 1 Imports, you’ll be spending a minimum of $100-$120 PER CHAIR, so I think I got a good deal.

Malta Trip May 2016 003

Remember I decided to reupholster them so I removed the cushions from the chairs and tore off the old fabric.

I reupholstered all 4 chairs with this black and white striped IKEA fabric:

Malta Trip May 2016 012

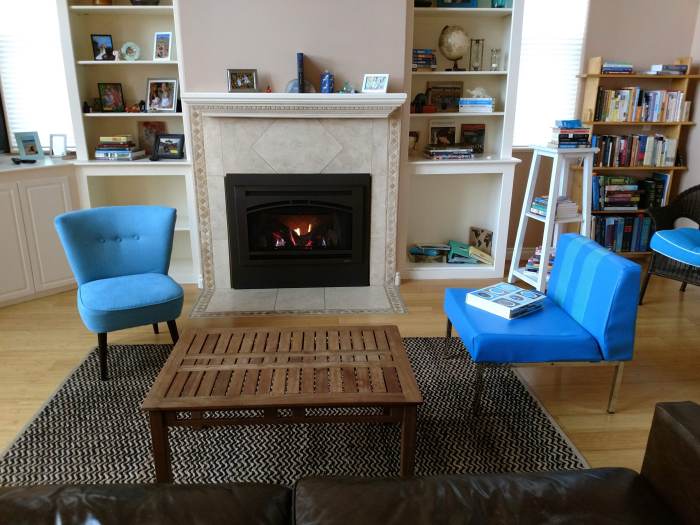
Sensational results, I thought. They looked rather striking with our table here. By the way, I got this solid mango wood table on sale for 250 euros at Mobel Martin (in Kaiserslautern, Germany).

img_20180627_121244653

But sadly as physics would have it, all things are subject to entropy.

img_20180626_154632088

img_20180626_155723330

img_20180626_155702708

So, once again, two years later, I removed the fabric and decided on different material. How about vinyl? It’s easy to wipe off spills and is far less penetrable than cloth fabric.

I was able to buy a roll of vinyl (4 1/2 yards I think), for around $40 bucks at Joann’s Fabric. Remember to bring in your 50% off coupon for one item to get that price– otherwise you’ll be spending around $80 for that amount.

I chose blue vinyl, regular $14.99 per yard (but half off with my coupon).

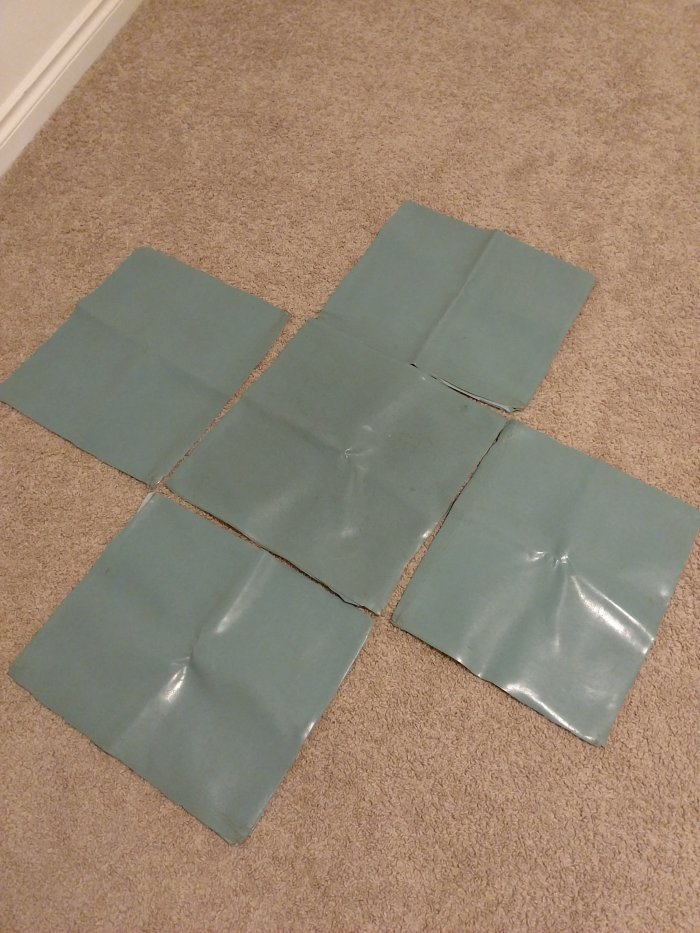
Removing old material is usually pretty easy. Just use a pair of needle nose pliers and a little flat head screwdriver. (I broke 2 in the process). Yank off the old fabric and use it as your template for cutting out your new piece of fabric that will cover the chair. When cutting the new fabric, make sure you cut a bigger piece than your previous piece. You want lots of material to work with in order to get it just right.

img_20180626_160808358_burst000_cover_top

img_20180705_093237261_ll

img_20180705_093309138_ll

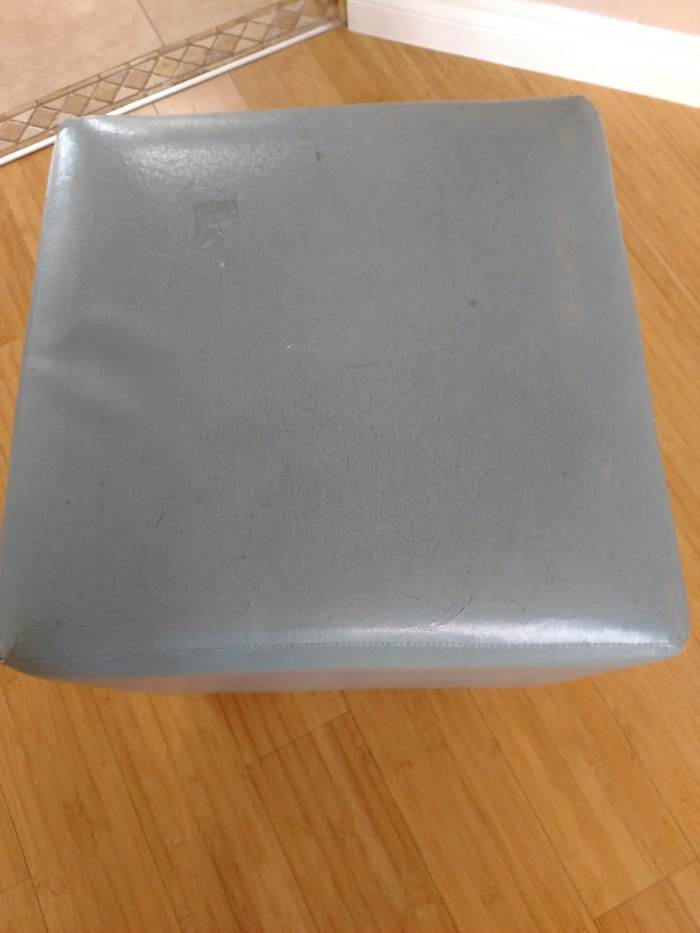
Just lay the piece of cut vinyl on top of the seat cushion and tape around the underside of the seat first, positioning it in place (not shown here, sorry). Next, use your staple gun and start pulling the fabric nice and tight as you staple the vinyl to the underside, wooden section of the seat.

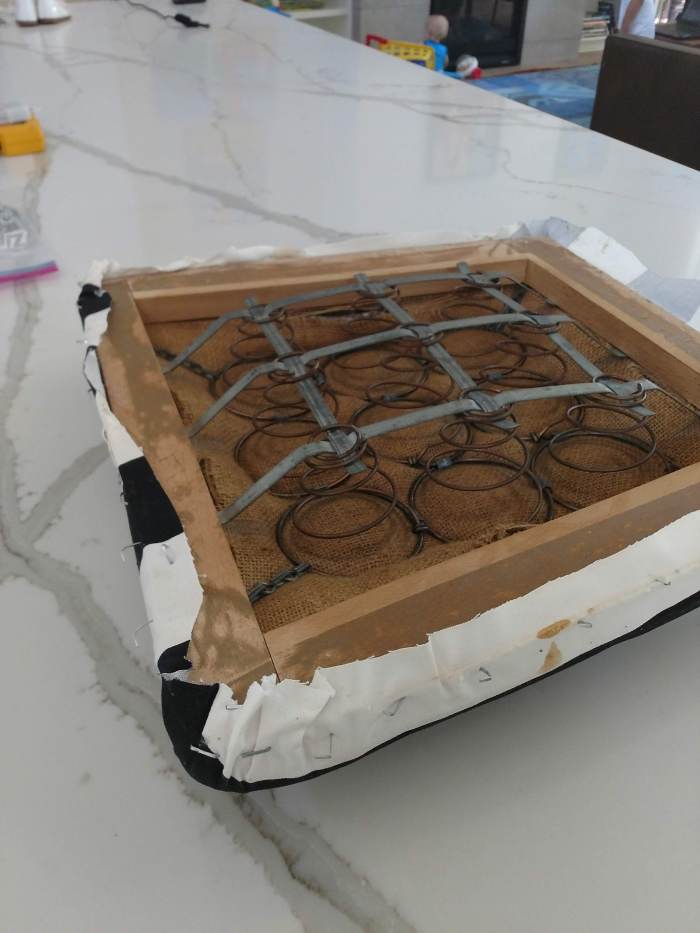
Here is the underbelly of the seat and what it looks like when you staple it.  As you can, it can be quick and doesn’t have to look perfect. No one will see it.

img_20180705_093342081_ll

img_20180705_094934313_ll

These are the tools I used for my reupholstery job:

img_20181004_182755602

And the kids couldn’t resist playing with them..

img_20181004_1833130761

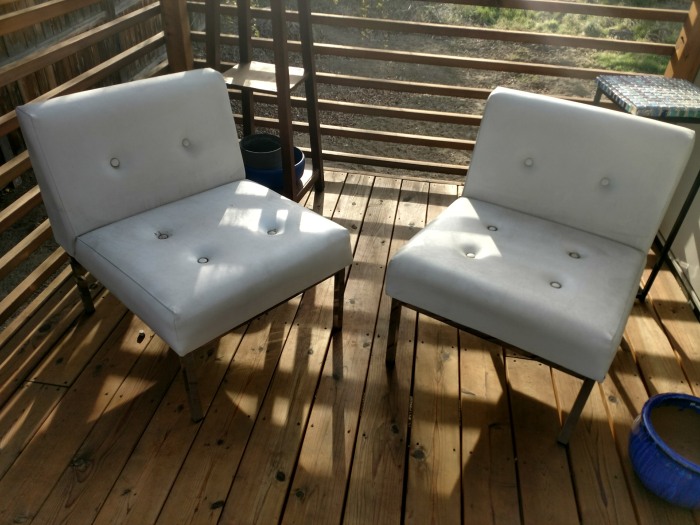
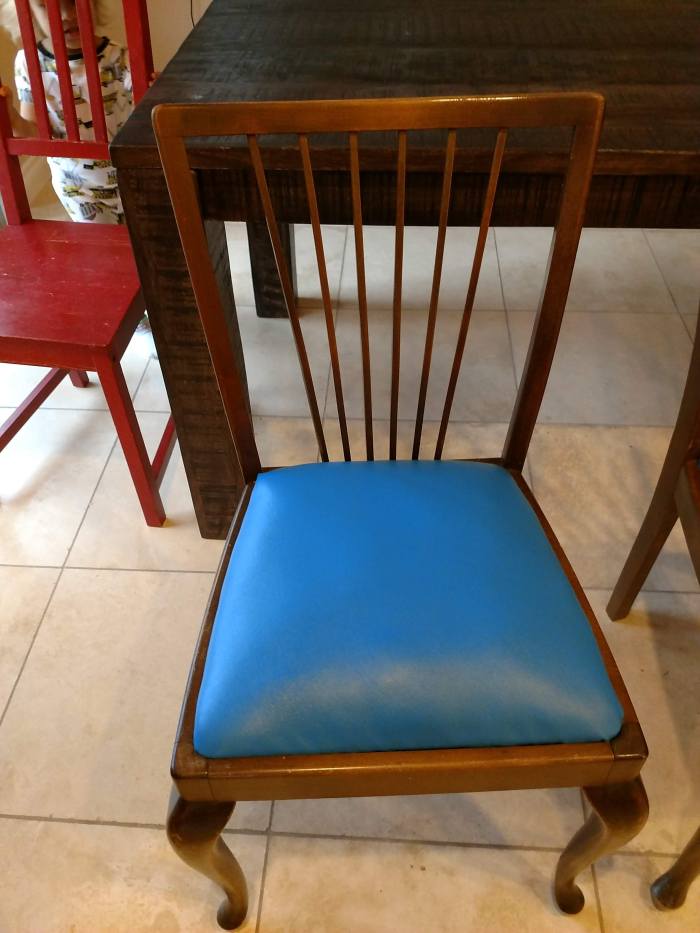
Here are the chairs with the new vinyl material. Maybe not as striking as the black and white fabric, but they sure do wipe off quickly!

img_20181004_182101732

AND….I still have quite a bit of blue vinyl material left. 🙂 Which means this reupholstery job was much less than $40. Come back soon if you want to see yet another reupholstery job I’m working on with this same fabric; I’ve got a more challenging chair.